There is a specific kind of magic that happens in an American kitchen when you strip away pre-packaged seasoning envelopes and bottled “cooking sauces.” It’s the sound of a heavy cast-iron skillet heating up, the rhythmic chop of fresh parsley, and the unmistakable aroma of real butter melting into fresh garlic.
This easy garlic butter chicken recipe proves that simple, from-scratch cooking doesn’t have to be slow or complicated. In just 20 minutes, you can put a dinner on the table that tastes like it simmered all afternoon—without relying on box mixes or processed shortcuts.
At Krivia Recipes, we believe “simple” should never mean “shortcut.” This garlic butter chicken is built on techniques that actually matter: a hard sear, fresh aromatics, and quality ingredients. Whether you’re feeding your family after a busy day or trying to cook more real food at home, this recipe will quickly become a weeknight staple. So, why does cooking garlic butter chicken from scratch still matter especially on busy weeknights?
Why Cooking Garlic Butter Chicken From Scratch Still Wins ?
In an era of frozen meal kits and viral 30-second food hacks, cooking from scratch might seem old-fashioned. But when it comes to flavor and control, nothing compares.
Boxed seasoning blends often hide excessive sodium, anti-caking agents, and vague “natural flavors.” When you make garlic butter chicken from scratch, you control the ingredients. You choose the butter, the garlic, and the seasoning levels, resulting in a cleaner, fresher, and more vibrant flavor.
Cooking from scratch is also more budget friendly than many people realize. Simple staples like chicken, butter, garlic and herbs cost less over time than pre-made sauces and they work across dozens of recipes. Of course, ingredients alone aren’t enough—the real magic happens in the pan.
The Secret to Perfect Pan-Seared Garlic Butter Chicken
- Pat the Chicken Dry
- Moisture prevents browning. Taking just 30 seconds to pat the chicken dry allows the Maillard reaction to occur, creating a golden crust that locks in flavor.
- Use Butter and Oil Together
- Butter adds rich flavor, while olive oil raises the smoke point. This combination lets you sear the chicken properly without burning the butter.
- Always Use Fresh Garlic
- Jarred garlic contains preservatives that dull its taste. Fresh garlic caramelizes naturally, giving the dish its signature nutty, savory sweetness.
If your chicken has ever turned out rubbery or bland, these three golden rules will change everything.
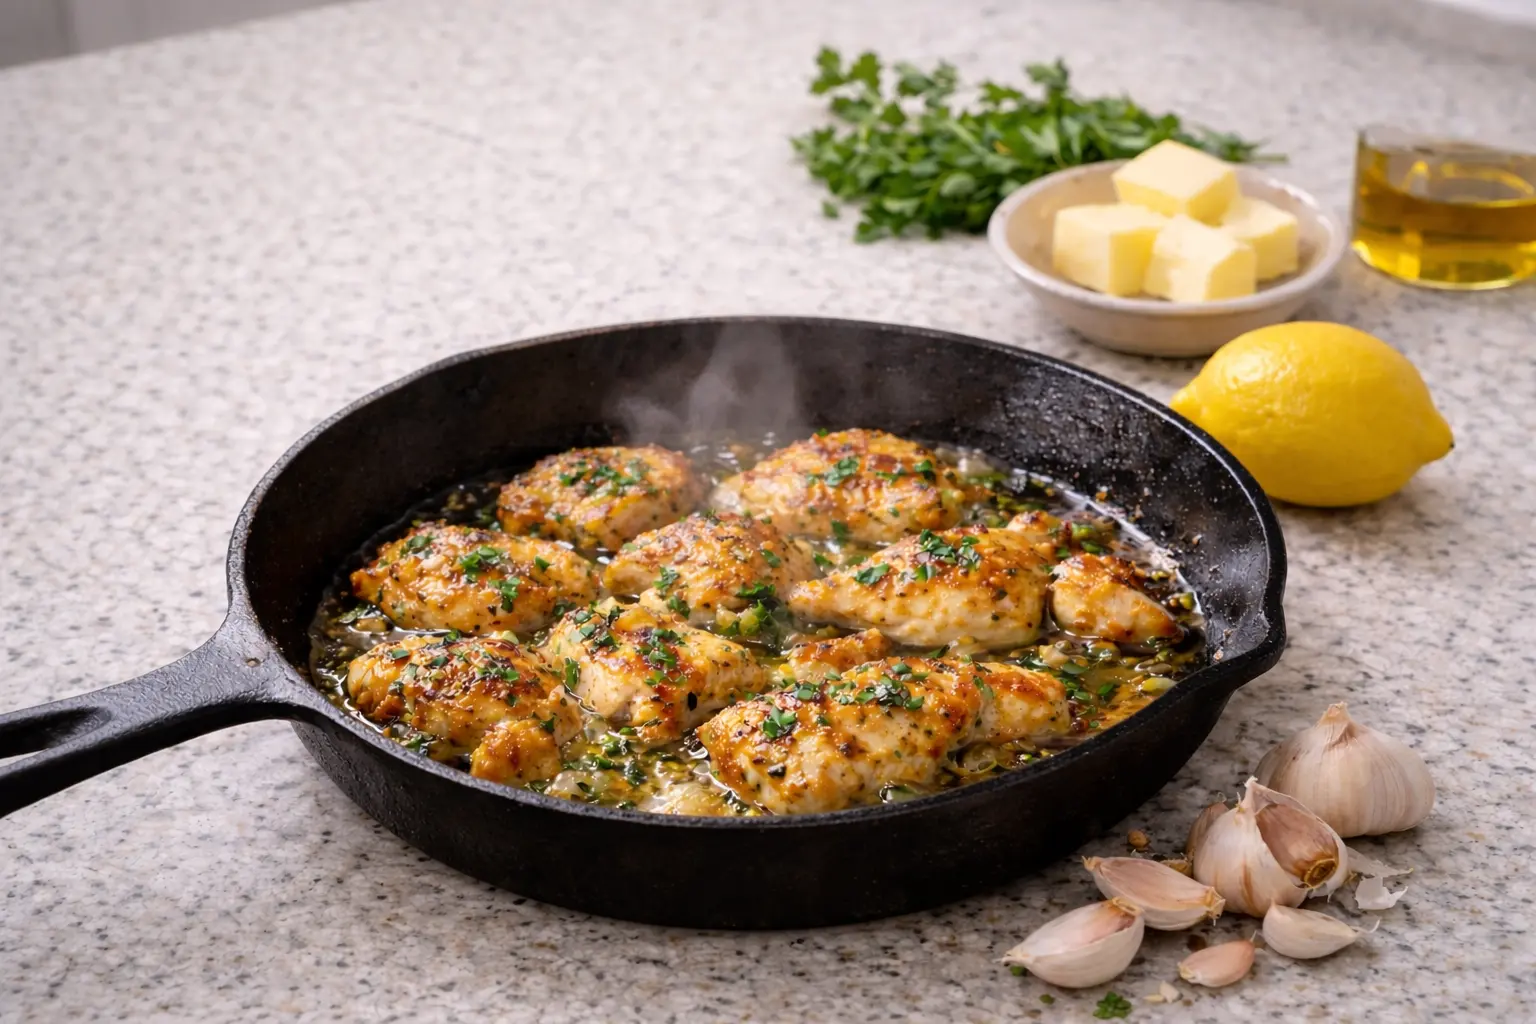
Ingredients for Easy Garlic Butter Chicken
- Chicken: 1.5 lbs boneless, skinless thighs or breasts
- Fat: 4 tbsp unsalted butter + 1 tbsp olive oil
- Garlic: 6 fresh cloves, minced
- Herbs: Fresh flat-leaf parsley
- Seasoning: Sea salt and freshly cracked black pepper
- Acid: 1 fresh lemon
Tip: Chicken thighs are more forgiving and stay juicy, making them ideal for beginners.
Step-by-Step Garlic Butter Chicken Instructions.
Follow these steps carefully for perfectly cooked garlic butter chicken every time.
1. The Prep: Respect the Ingredients
First, let’s talk about the chicken. Whether you’re using breasts or thighs, the goal is uniformity. Slice your chicken into 1-inch pieces. Why? Because if some pieces are tiny and others are huge, the small ones will turn into “chicken jerky” before the big ones are even safe to eat.
The Golden Rule of Searing: Take a paper towel and pat those chicken pieces dry. I mean really dry. If there is moisture on the surface, the chicken will steam in the pan, turning gray and rubbery. We want gold, not gray. Once dry, season generously. Don’t be afraid of the salt and pepper—this is your base layer of flavor.
2. The Pan: Building the Foundation
Place your heaviest skillet preferably cast iron or stainless steel over medium-high heat. Add your olive oil and that first tablespoon of butter.
The Sizzle Test: Flick a tiny drop of water into the pan. If it dances and pops, you’re ready. Drop the chicken in, but stop! Do not crowd the pan. If the pieces are touching, the pan temperature will drop. Work in two batches if you have to.
3. The “No-Touch” Rule
This is where most home cooks get nervous. They want to move the chicken around. Resist the urge! Let the chicken sit undisturbed for a solid 3 to 4 minutes. You are waiting for the chicken to “release” from the pan naturally. If it sticks when you try to flip it, it’s not ready. When it has developed a beautiful, caramelized crust, flip each piece. Cook for another 2 minutes, then move the chicken to a clean plate. It won’t be 100% cooked yet, and that’s exactly what we want.
4. The Magic of Garlic Butter
Turn your heat down to medium-low. This is a crucial “from-scratch” moment. Your pan is full of brown bits—that’s called fond, and it’s concentrated flavor. Add the remaining 3 tablespoons of butter. As it melts, use a wooden spoon to gently scrape those brown bits into the pooling butter.
Now, add your fresh minced garlic. Since we aren’t using a jar, the garlic still has its natural oils. You’ll hear a gentle sizzle. Stir it constantly for about 60 seconds. You are looking for a “blonde” color—think the color of straw. If it turns dark brown, it will taste bitter, so keep that garlic moving!
5. The Marriage of Flavors
Bring the chicken and all those delicious juices back into the pan. The residual heat will finish cooking the chicken while it bathes in the garlic butter.
Now, the finishing touches that separate a “meal” from an “experience”:
The Brightness: Squeeze half a fresh lemon over the skillet. You’ll hear a hiss as the acid hits the pan. This cuts through the richness of the butter and makes the whole dish feel light and fresh.
The Herb: Throw in your chopped fresh parsley. The heat will wake up its oils, turning it a vibrant, deep green.
6. The Rest
Turn off the burner. Let the chicken sit in the pan for just 60 seconds before serving. This allows the fibers of the meat to relax and soak up that liquid gold.
What to Serve With Garlic Butter Chicken
- Crispy smashed potatoes
- Garlic-sautéed green beans
- Crusty sourdough bread
Final Thoughts
Cooking from scratch isn’t about perfection it’s about intention. This easy garlic butter chicken recipe proves that real ingredients and simple techniques can create meals your family will ask for again and again.
Skip the shortcuts. Trust your skillet. And enjoy every buttery, garlicky bite.
Loved this recipe? Save it to your “Easy Family Dinners” board and follow Krivia Recipes for more from-scratch meals made with real ingredients.
2 thoughts on “Easy Garlic Butter Chicken Recipe From Scratch in 20 Minutes”