
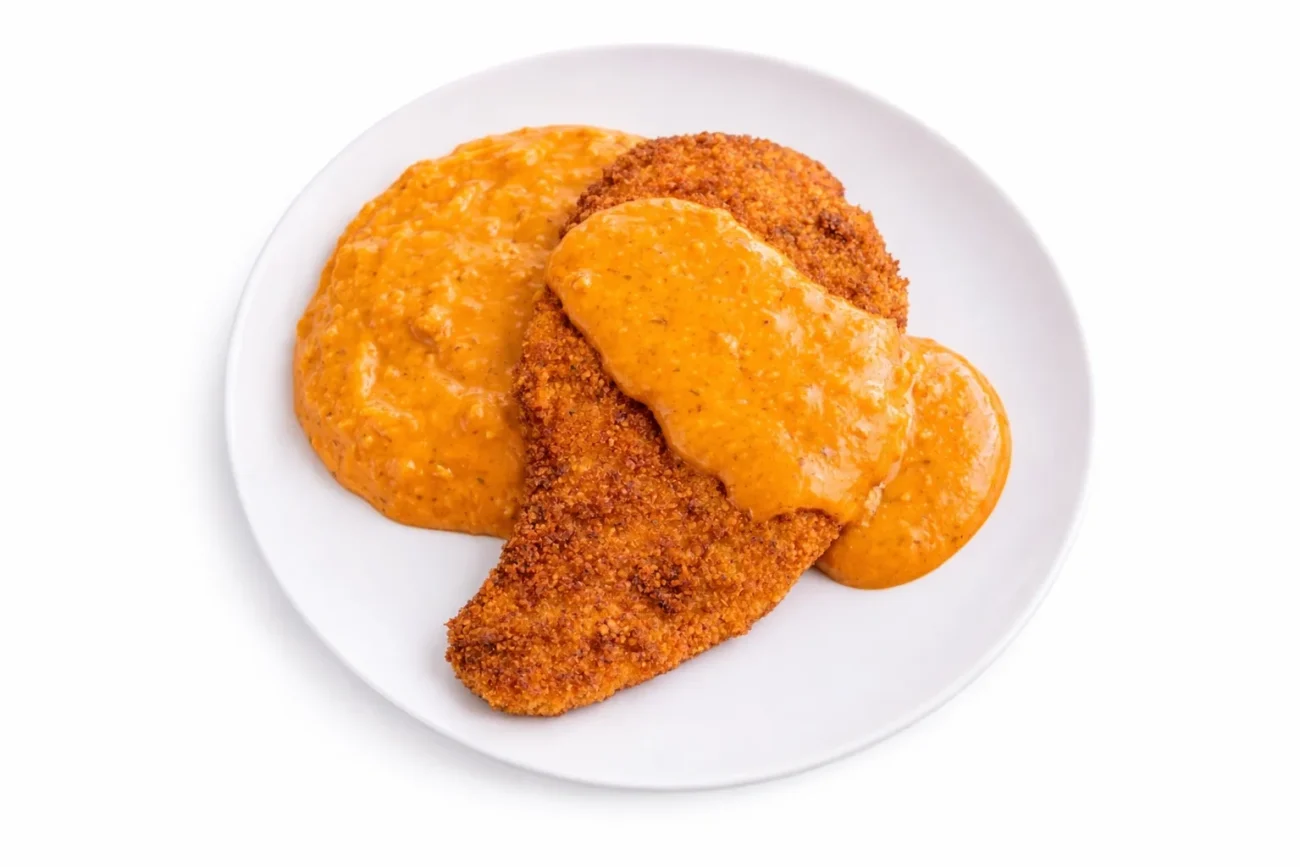
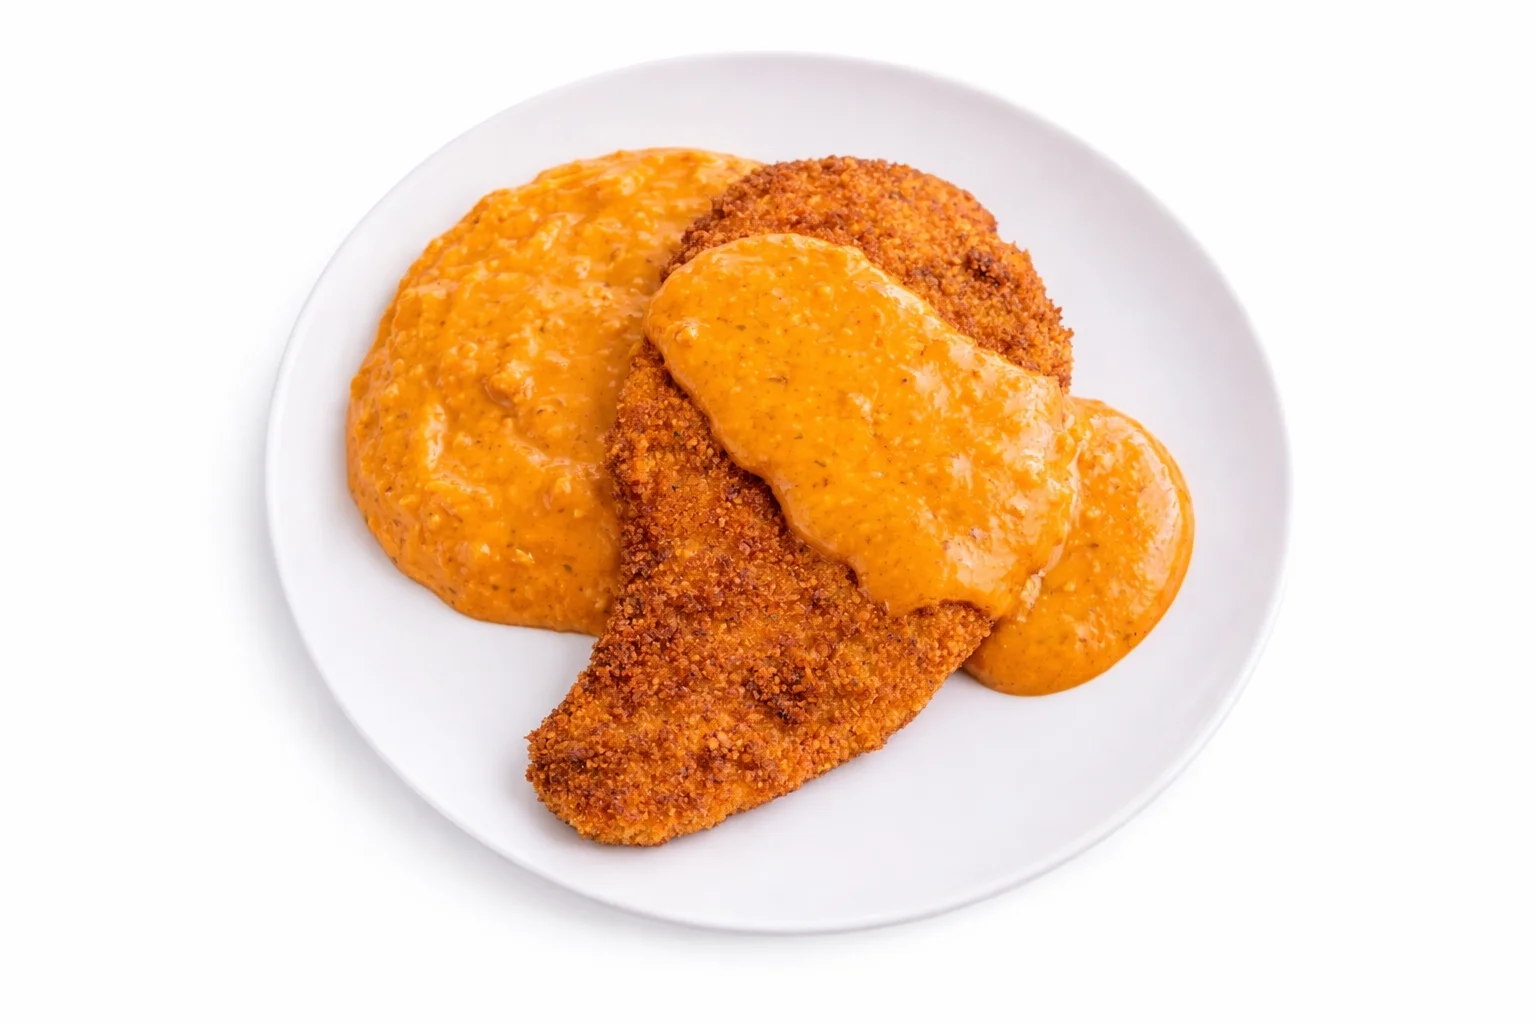
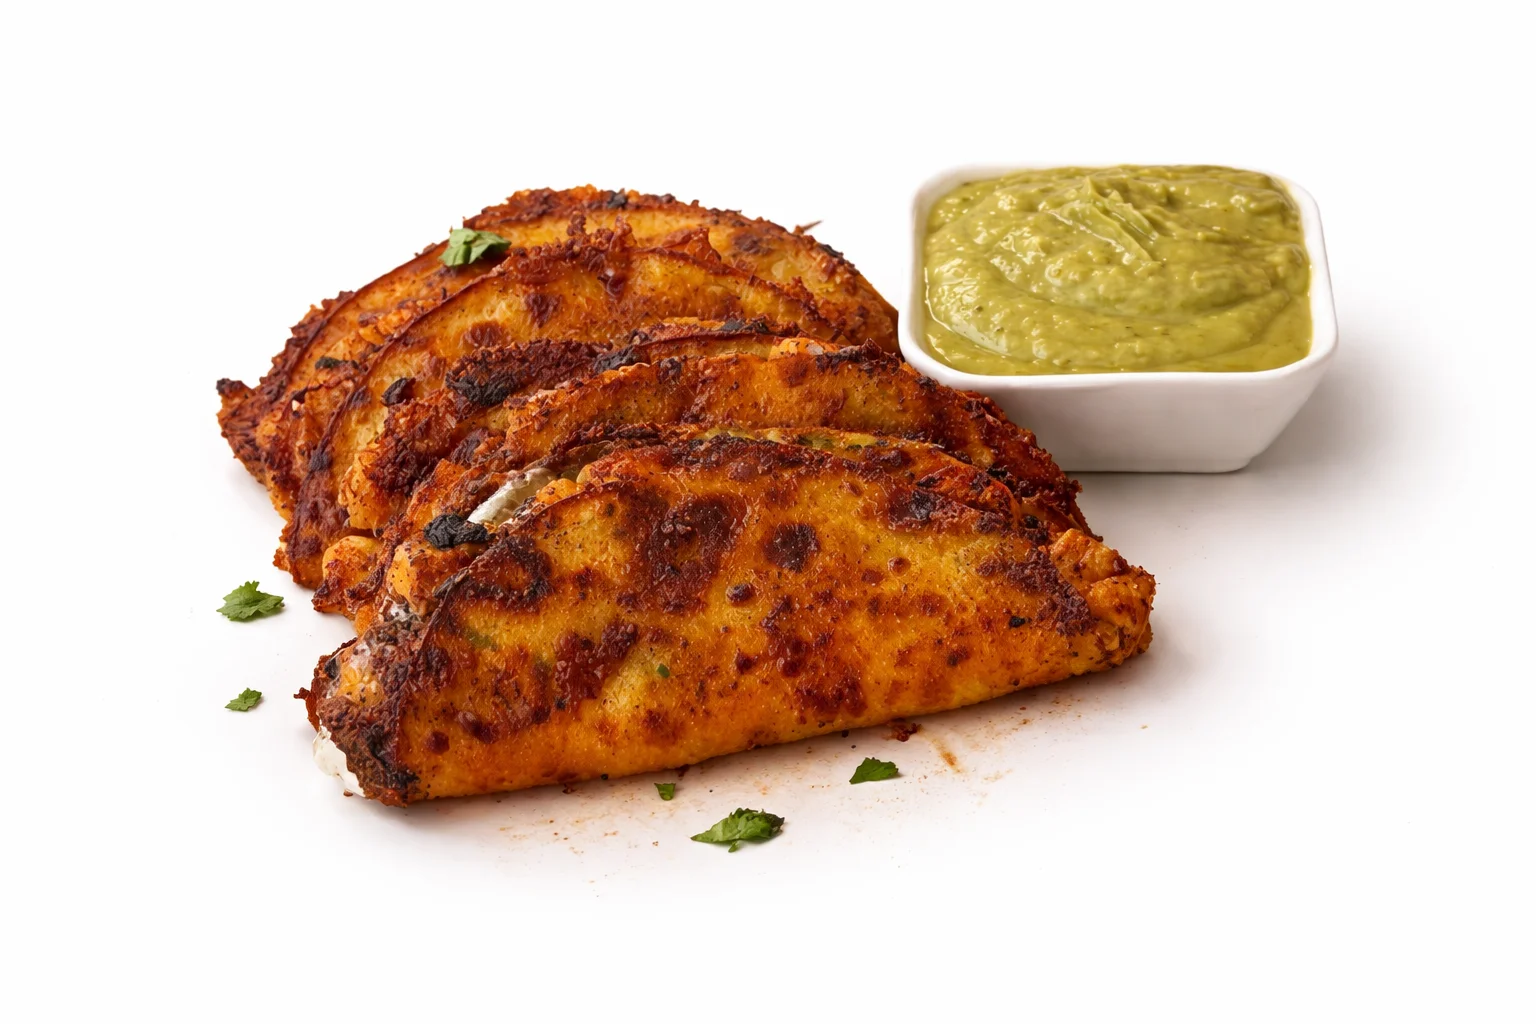
Crispy chicken always has a way of grabbing attention the moment it hits the table. The golden coating delivers that satisfying crunch, while the juicy chicken inside keeps every bite tender and flavorful. When it is finished with a bold peri peri style sauce made from roasted peppers, garlic and lemon, the result becomes rich, vibrant and packed with heat that keeps the flavor exciting.
That balance of crispy texture and bold seasoning is what makes this recipe so satisfying. The chicken stays crunchy while the spicy sauce adds a smoky kick that builds flavor in every bite. It is the kind of dish that feels comforting yet bold at the same time, making it perfect for casual dinners or sharing with friends.
If you enjoy crispy chicken snacks, you may also like these Garlic Parmesan Chicken Tenders. They deliver a rich buttery garlic flavor with the same irresistible crispy texture that chicken lovers enjoy.
Another fun option to try is this creative Chicken Cones Recipe, where crispy chicken is served inside crunchy cones for a snack that is perfect for gatherings, parties or casual meals.
Recipes like this show how simple ingredients can turn into bold comfort food. With the right seasoning and a crispy finish, chicken becomes a dish that is easy to make, deeply satisfying and always popular on the table.
What Makes This Peri Peri Sauce So Good
- Bold spicy heat – Chilies give the sauce its signature kick, creating a lively heat that makes every bite exciting.
- Rich roasted pepper base – Roasted red peppers bring natural sweetness and depth that balance the spice perfectly.
- Bright lemon freshness – Lemon juice adds a vibrant citrus note that lifts the flavor and keeps the sauce from feeling too heavy.
- Deep garlic flavor – Fresh garlic builds a savory backbone that makes the sauce taste rich and satisfying.
- Smooth and flavorful texture – Blending the ingredients creates a silky sauce that coats crispy chicken beautifully.
Why This Peri Peri Sauce Works So Well
Balanced heat and flavor
Chilies bring a bold spicy kick while roasted peppers add natural sweetness, creating a balanced sauce that feels exciting but not overwhelming.
Bright citrus freshness
A touch of lemon lifts the sauce and adds freshness, keeping the flavors vibrant and preventing the spice from feeling too heavy.
Smooth, rich texture
Blending the ingredients creates a silky sauce that coats crispy chicken beautifully and spreads evenly over every bite.
Deep savory notes
Garlic and roasted peppers build a strong savory base that gives the sauce depth and makes it taste rich and satisfying.
Versatile for many dishes
This sauce works perfectly as a marinade, dipping sauce or finishing drizzle for crispy chicken, grilled meat or roasted vegetables.
- Roast the peppers well. Deep roasting builds the smoky flavor that gives peri peri sauce its signature taste.
- Adjust the chili heat. Add more chilies for a hotter sauce or reduce them for a milder version.
- Blend until very smooth. A silky texture helps the sauce coat crispy chicken evenly.
- Balance with lemon. A small squeeze of lemon brightens the sauce and balances the spicy heat.
- Let the sauce rest. Resting the sauce for a few minutes allows the flavors to combine and deepen.
Ingredients You’ll Need
| ✔ | Ingredient | Amount | Purpose | Substitution |
|---|---|---|---|---|
| Roasted red peppers | 2 large | Creates the smooth base of the sauce | Jarred roasted peppers | |
| Fresh red chilies | 3 chilies | Adds the signature peri peri heat | Red chili flakes | |
| Garlic cloves | 3 cloves | Builds deep savory flavor | Garlic powder | |
| Lemon juice | 2 tbsp | Adds bright citrus balance | Lime juice | |
| Olive oil | 3 tbsp | Creates a smooth blended texture | Avocado oil | |
| Smoked paprika | 1 tsp | Adds smoky depth | Regular paprika | |
| Dried oregano | ½ tsp | Adds herbal flavor | Italian seasoning | |
| Salt | ½ tsp | Enhances all the flavors | Sea salt |
⏱ 20-Minute Cooking Timer
How to Make Homemade Peri Peri Sauce
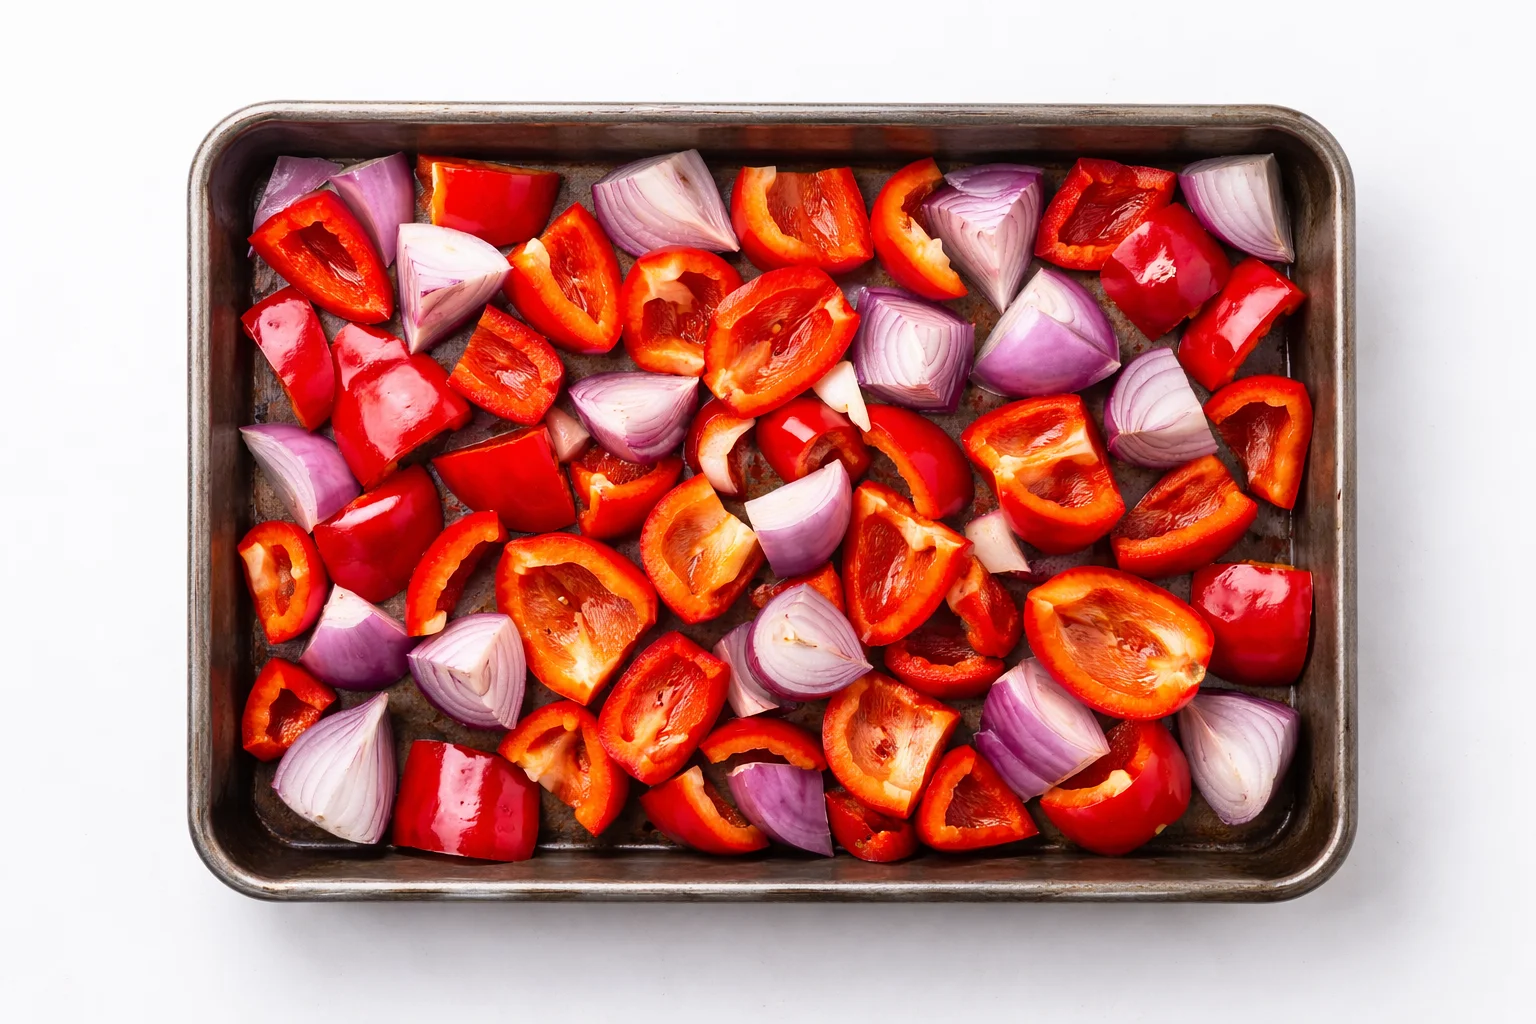
1 Start by preparing the vegetables that will form the base of the sauce. Cut the red peppers into large chunks and slice the red onion into wedges. Spread everything evenly across a baking tray so the pieces have room to roast properly. This step is important because roasting the vegetables helps concentrate their natural sweetness and creates the smoky depth that gives peri peri sauce its signature flavor.
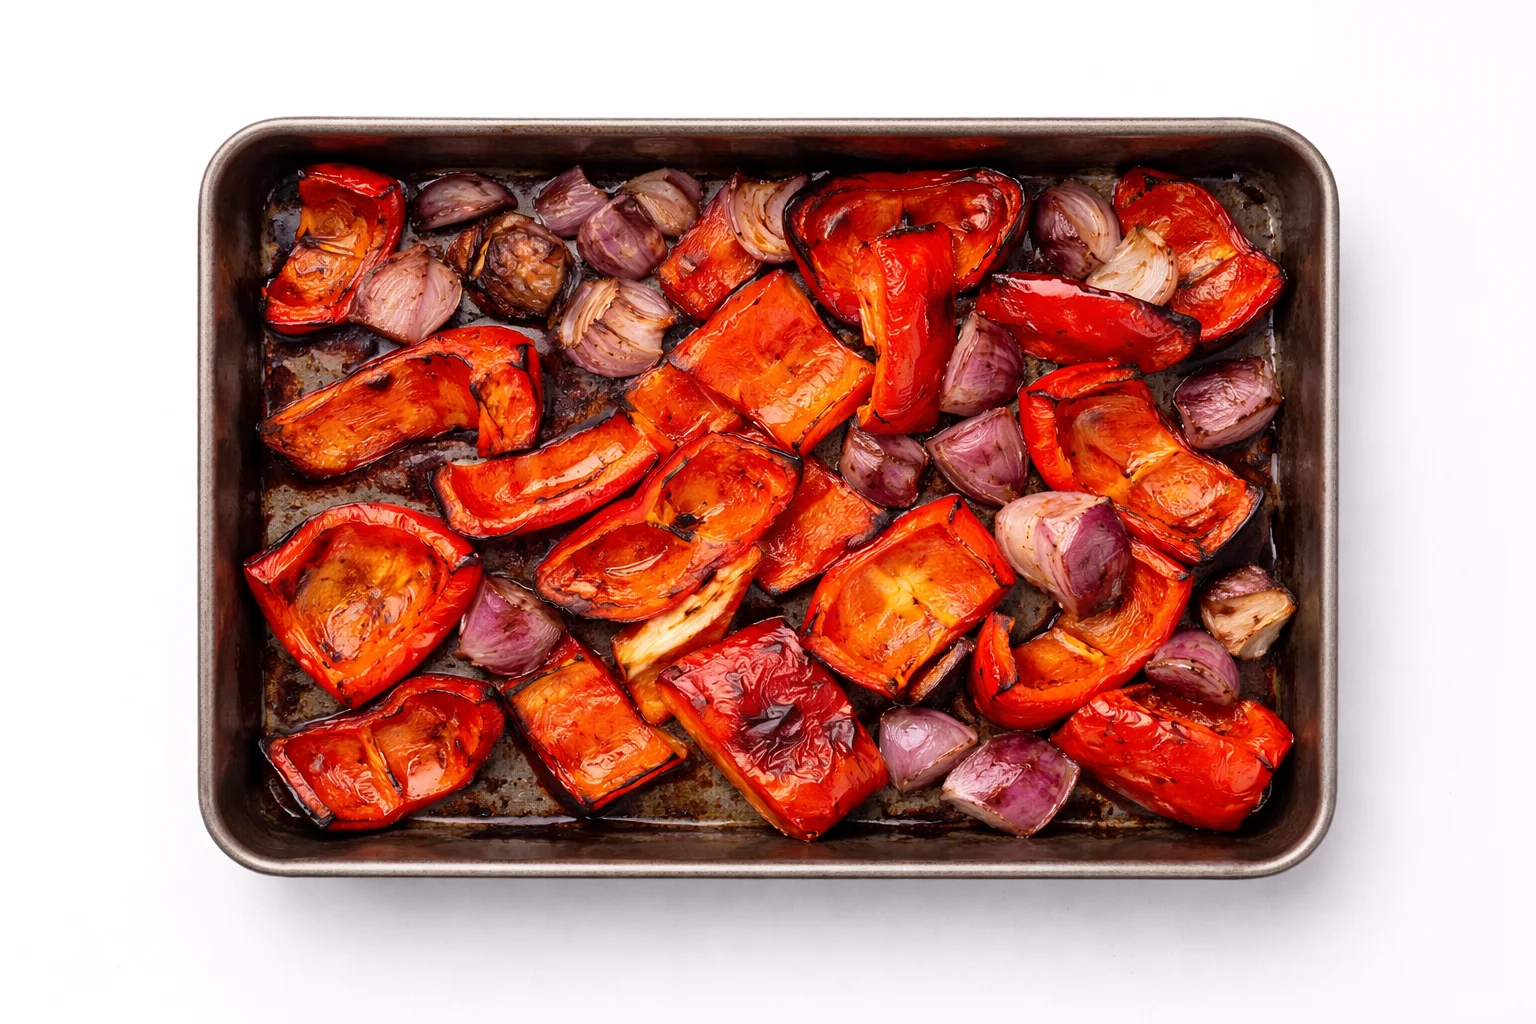
2 Roast the vegetables in a hot oven until the edges begin to char slightly and the peppers soften. The heat caramelizes the natural sugars in the vegetables while adding subtle smoky notes. Once roasted, the peppers become sweeter and the onions develop a rich depth that will carry through the finished sauce.
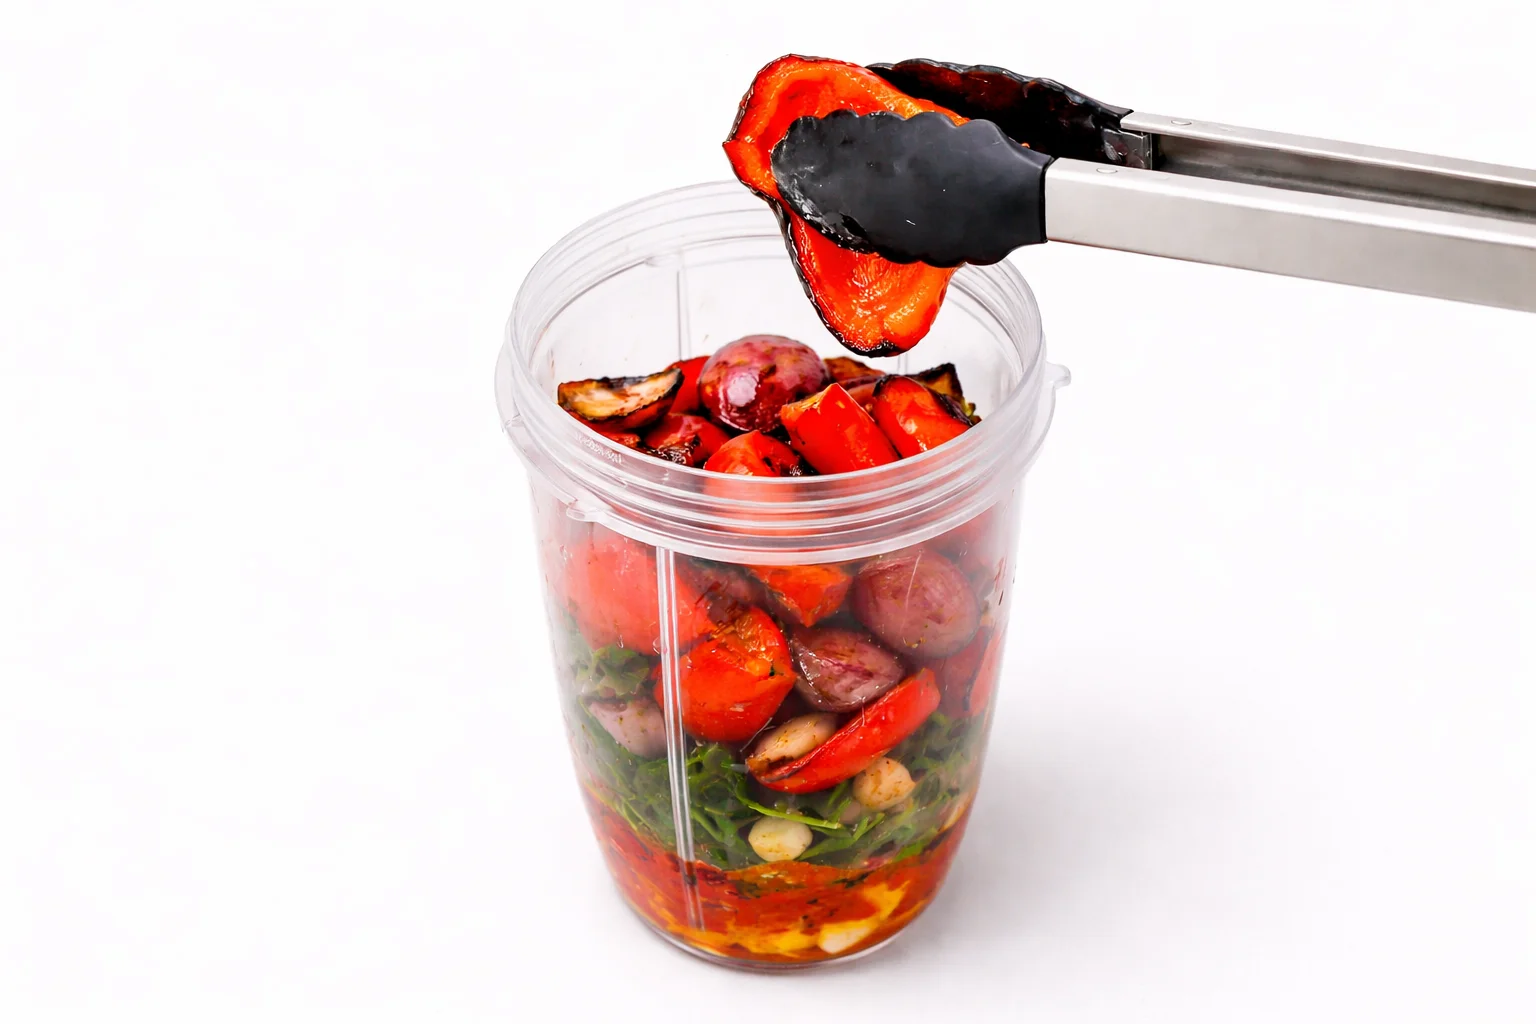
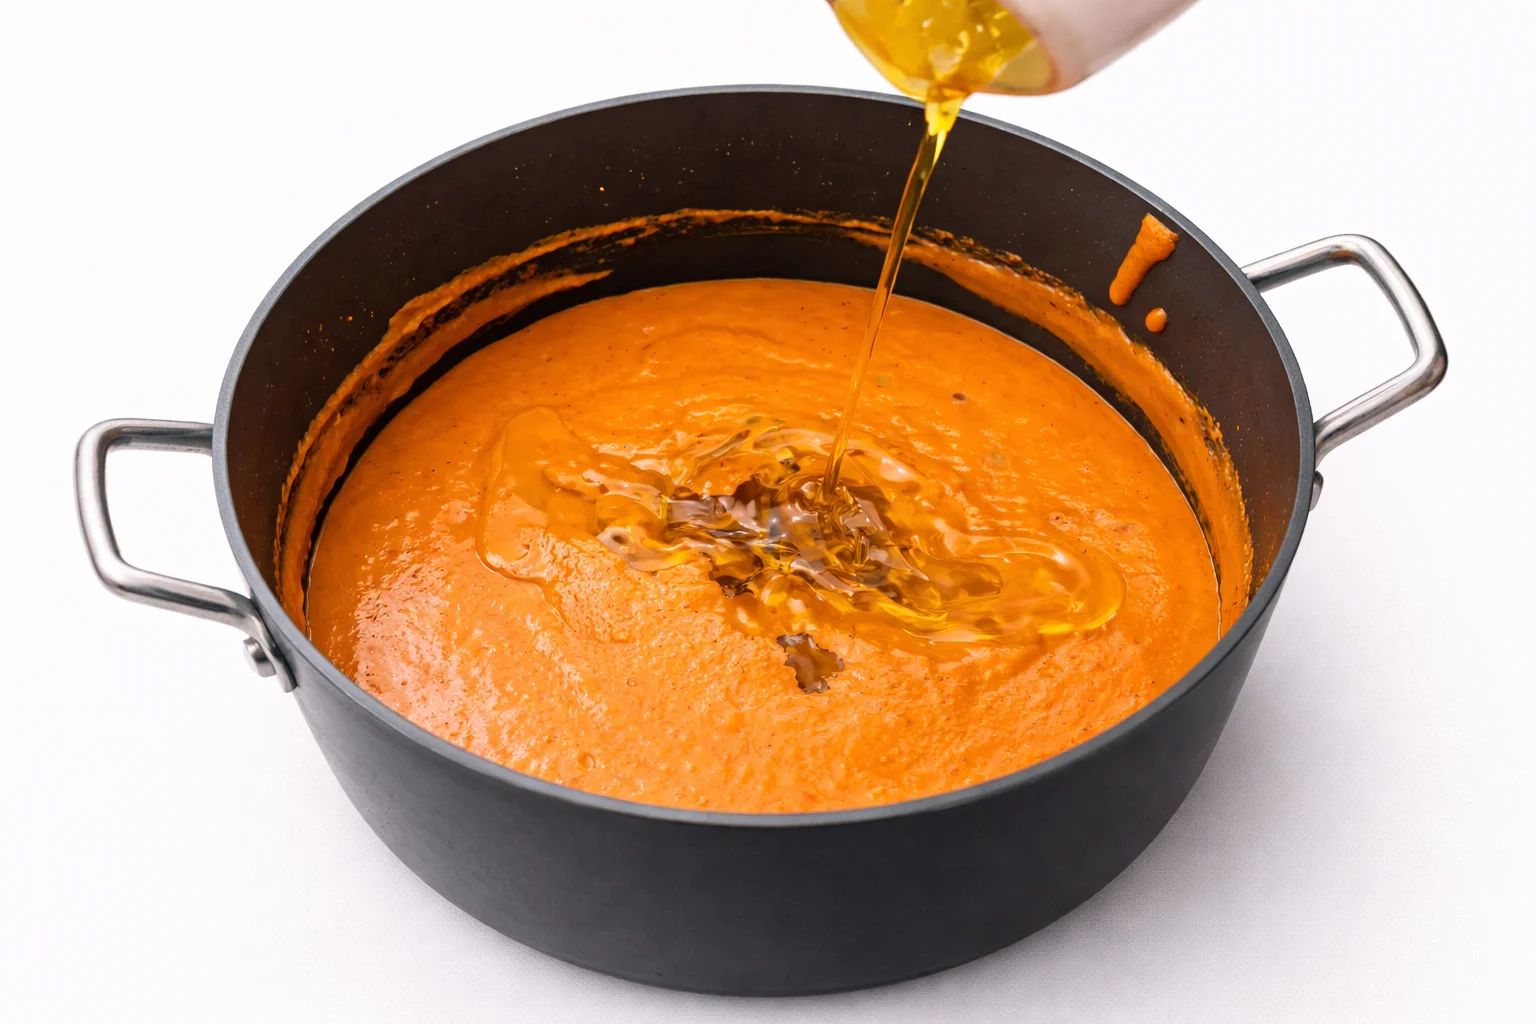
3 Transfer the roasted peppers and onions into a blender. Add garlic, herbs, vinegar, lemon juice, and a little olive oil. These ingredients work together to create the bold flavor profile of peri peri sauce. The garlic adds savory depth, while lemon and vinegar bring brightness that balances the heat of the chilies.
4 Blend the mixture until it becomes smooth and creamy, then transfer it to a saucepan. Allow the sauce to simmer gently for several minutes so the flavors can fully combine. This quick cooking step also helps thicken the sauce slightly, giving it the perfect consistency for dipping, drizzling, or marinating chicken.
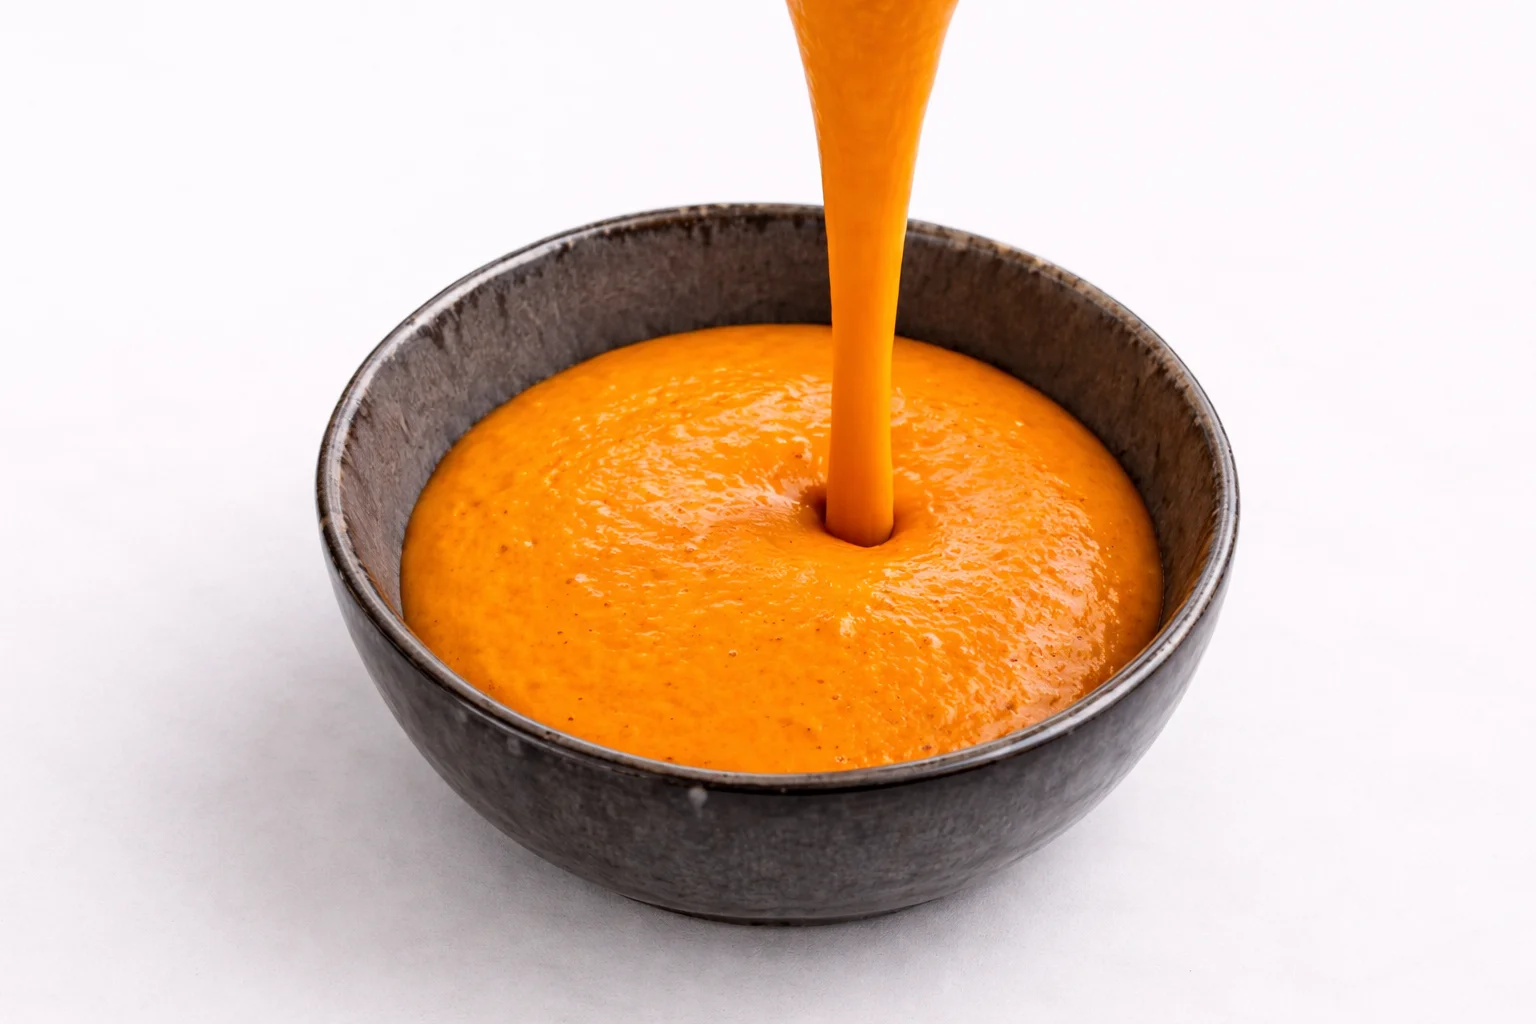
5 Once the sauce reaches a silky consistency, pour it into a serving bowl. The vibrant orange color and smooth texture show that the ingredients have blended perfectly. At this point the sauce is ready to use as a dip, marinade, or finishing drizzle for crispy chicken and grilled dishes.
Pro Tips & Common Mistakes
Make sure the peppers and onions develop light charred edges while roasting. This step builds the smoky flavor that gives peri peri sauce its bold character.
If the vegetables are packed too closely together, they will steam instead of roast. Spread them out so heat can circulate and caramelize the edges.
A silky texture helps the sauce coat chicken evenly. Blend the mixture long enough to break down the roasted vegetables and herbs fully.
After blending, a short simmer helps the flavors combine and slightly thickens the sauce. Avoid high heat which can dull the fresh flavors.
Peri peri sauce can be mild or very spicy depending on the chilies used. Start with fewer chilies and increase gradually if you prefer stronger heat.
While preparing sauces and cooking with hot ingredients, kitchen safety is always important. If you want to improve your cooking habits and avoid common accidents, take a look at these 10 Essential Kitchen Safety Tips Every Home Cook Should Know.
Storage, Reheating & Make Ahead Tips
Transfer leftover peri peri sauce to a clean airtight jar or container and refrigerate it for up to five days. The flavor often becomes even richer after resting overnight.
Warm the sauce gently in a small saucepan over low heat while stirring occasionally. Avoid boiling, which can slightly change the texture and dull the fresh roasted flavor.
If the sauce thickens after refrigeration, add a small splash of warm water or olive oil while reheating to restore its smooth consistency.
Peri peri sauce is ideal for making ahead. Prepare it a day or two before serving and keep it chilled. This allows the roasted pepper, garlic, and chili flavors to blend even more deeply.
The sauce can be frozen for up to two months in freezer-safe containers. Thaw overnight in the refrigerator and reheat slowly while stirring.
Recipe Tips & Easy Variations
Use fewer chilies for a milder sauce or add extra bird’s eye chilies if you want a stronger peri peri heat.
A pinch of smoked paprika can deepen the roasted flavor and give the sauce a richer, smoky character.
Peri peri sauce works beautifully as a marinade for chicken, shrimp, or vegetables. Let the protein marinate for at least thirty minutes before cooking.
Fresh parsley or oregano can be blended into the sauce for a greener flavor and an extra layer of freshness.
For a softer flavor, stir a spoonful of Greek yogurt or mayonnaise into the finished sauce to create a creamy peri peri variation.
Food Safety Note
Always cook chicken until it reaches a safe internal temperature of 165°F (74°C). When using peri peri sauce as a marinade, avoid cross-contamination by keeping raw and cooked ingredients separate. For general kitchen safety practices and proper food handling guidance, visit the USDA Food Safety and Inspection Service .
What to Serve With Peri Peri Sauce
Peri peri sauce is bold, smoky, and slightly spicy, which makes it incredibly versatile on the table. It pairs beautifully with crispy chicken, grilled meats, roasted vegetables, and even simple fries. The roasted pepper base and citrus notes add depth to many dishes without overpowering them.
If you enjoy fun handheld chicken snacks, try pairing this sauce with our Chicken Cones. The crispy tortilla shell and juicy chicken filling create a perfect texture for dipping or drizzling with peri peri sauce.
Another great option is our flavorful Hot Honey Chicken Sliders. The sweet heat of the sliders contrasts nicely with the smoky spice of peri peri sauce and creates a bold flavor combination.
For a playful snack platter, you can also serve it alongside Chicken Tortilla Cones or the savory Crispy Beef Cones. These crunchy cone-style dishes are perfect for dipping and make great party appetizers.
To balance the spice, add simple sides like roasted potatoes, grilled vegetables, fresh salad, or warm flatbread. These lighter options help round out the meal while letting the bold peri peri sauce remain the highlight of the plate.
FAQs
What is peri peri sauce made from?
Peri peri sauce is usually made with roasted red peppers, fresh chilies, garlic, lemon juice, vinegar, olive oil, and herbs. These ingredients blend together to create a bold sauce that is smoky, tangy, and slightly spicy.
How spicy is peri peri sauce?
The heat level can vary depending on the type and amount of chilies used. Some versions are mild and smoky, while others can be quite spicy. You can easily adjust the heat by reducing or increasing the chilies.
Can I make peri peri sauce without roasting the peppers?
Roasting the peppers adds sweetness and a subtle smoky flavor. If you want a faster option, you can use jarred roasted peppers or blend the ingredients directly without roasting.
How long does homemade peri peri sauce last?
When stored in an airtight container in the refrigerator, homemade peri peri sauce usually stays fresh for about 4 to 5 days. Always use a clean spoon when serving to keep the sauce fresh longer.
What foods go well with peri peri sauce?
Peri peri sauce pairs well with grilled chicken, crispy fried chicken, roasted potatoes, vegetables, sandwiches, and wraps. It also works very well as a dipping sauce.
Can peri peri sauce be used as a marinade?
Yes. Peri peri sauce works beautifully as a marinade for chicken, shrimp, or vegetables. Let the ingredients marinate for at least 30 minutes so the flavors can absorb before cooking.
Nutrition Information
Nutrition values are approximate per serving and may vary depending on ingredient quantities and preparation methods.
You Might Also Like These Easy Recipes


Homemade Peri Peri Sauce
This homemade peri peri sauce is bold, smoky, and packed with flavor. Roasted peppers, garlic, chilies, and lemon blend together to create a vibrant sauce that works perfectly for crispy chicken, grilled meat, sandwiches, and dipping.
Ingredients
- 2 large red bell peppers
- 1 small red onion
- 2–3 red chilies (adjust for heat)
- 3 garlic cloves
- 3 tbsp olive oil
- 2 tbsp lemon juice
- 1 tbsp vinegar
- 1 tsp smoked paprika
- ½ tsp dried oregano
- ½ tsp salt
- ¼ tsp black pepper
Instructions
- Preheat the oven to 425°F (220°C). Cut the peppers and onion into large chunks and place them on a baking tray.
- Roast for about 15 minutes until softened and slightly charred.
- Transfer the roasted vegetables to a blender.
- Add garlic, chilies, olive oil, lemon juice, vinegar, paprika, oregano, salt, and pepper.
- Blend until smooth and creamy.
- Pour the mixture into a saucepan.
- Simmer gently for about 5 minutes to combine the flavors.
- Taste and adjust seasoning or chili level if needed.
- Serve warm or allow the sauce to cool slightly before using.
Recipe Disclaimer
This recipe is provided for informational purposes only. Cooking times and temperatures may vary depending on your air fryer model and kitchen equipment. Always use your best judgment when preparing food and ensure ingredients are cooked safely. Nutritional information is an estimate and may vary based on the exact products used. For full details, please review our full disclaimer policy.

Krish Shrestha
I’m Krish Shrestha, the creator of Krivia Recipes. I share practical, ingredient-focused recipes made with simple ingredients and clear step-by-step instructions designed for real kitchens and everyday home cooking.