

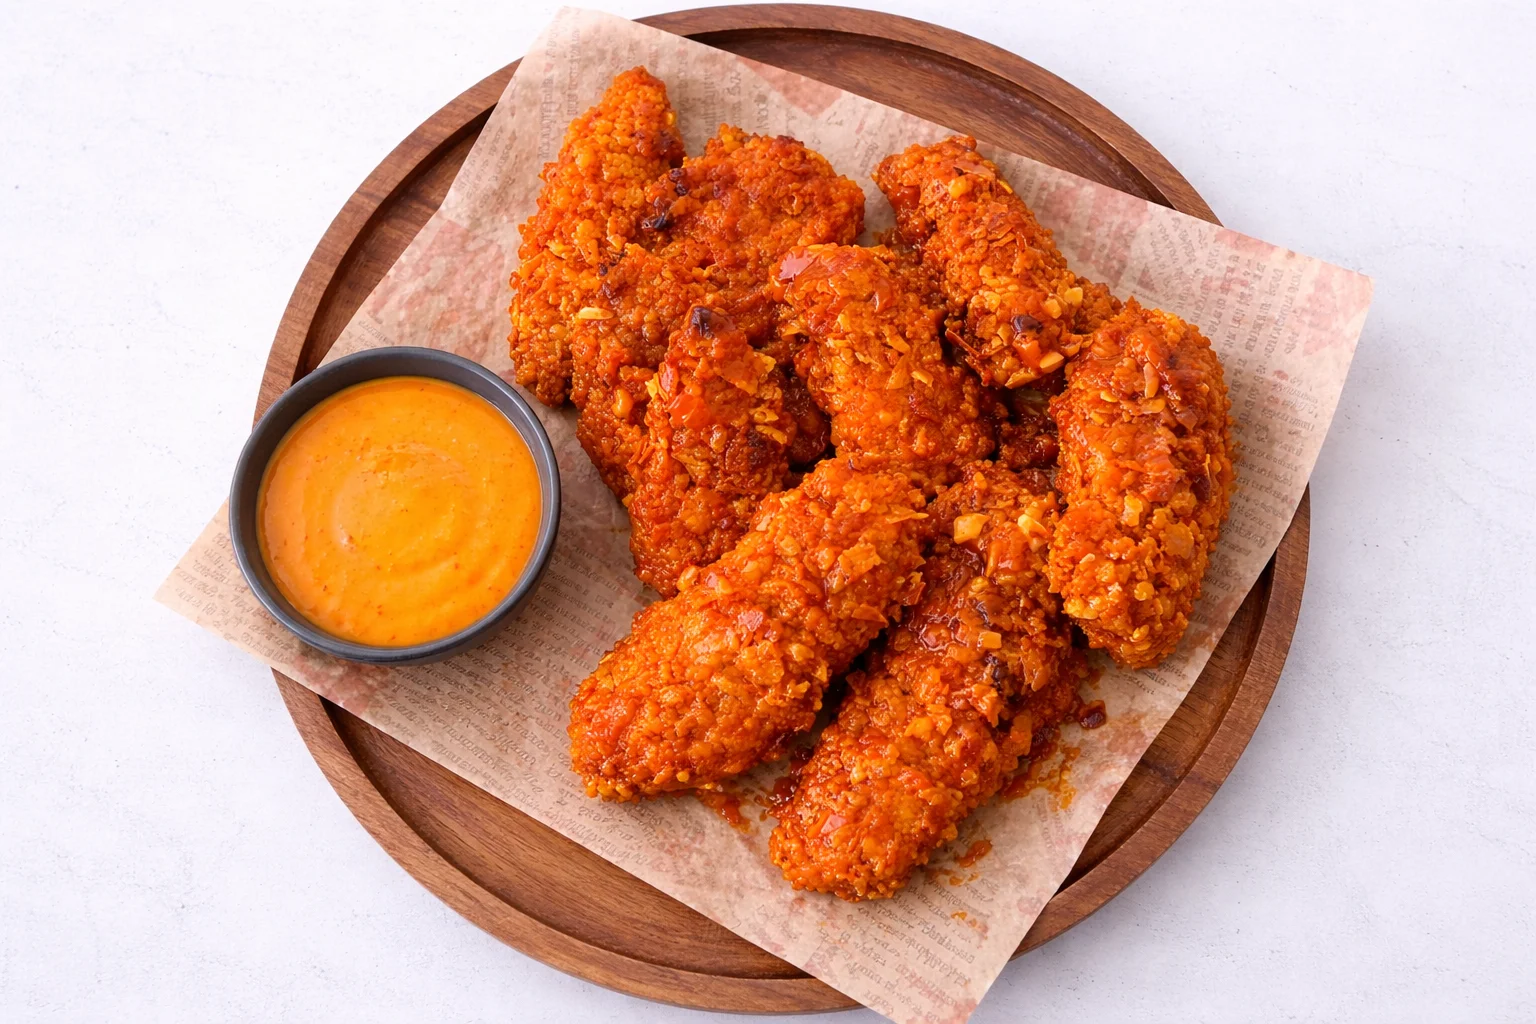
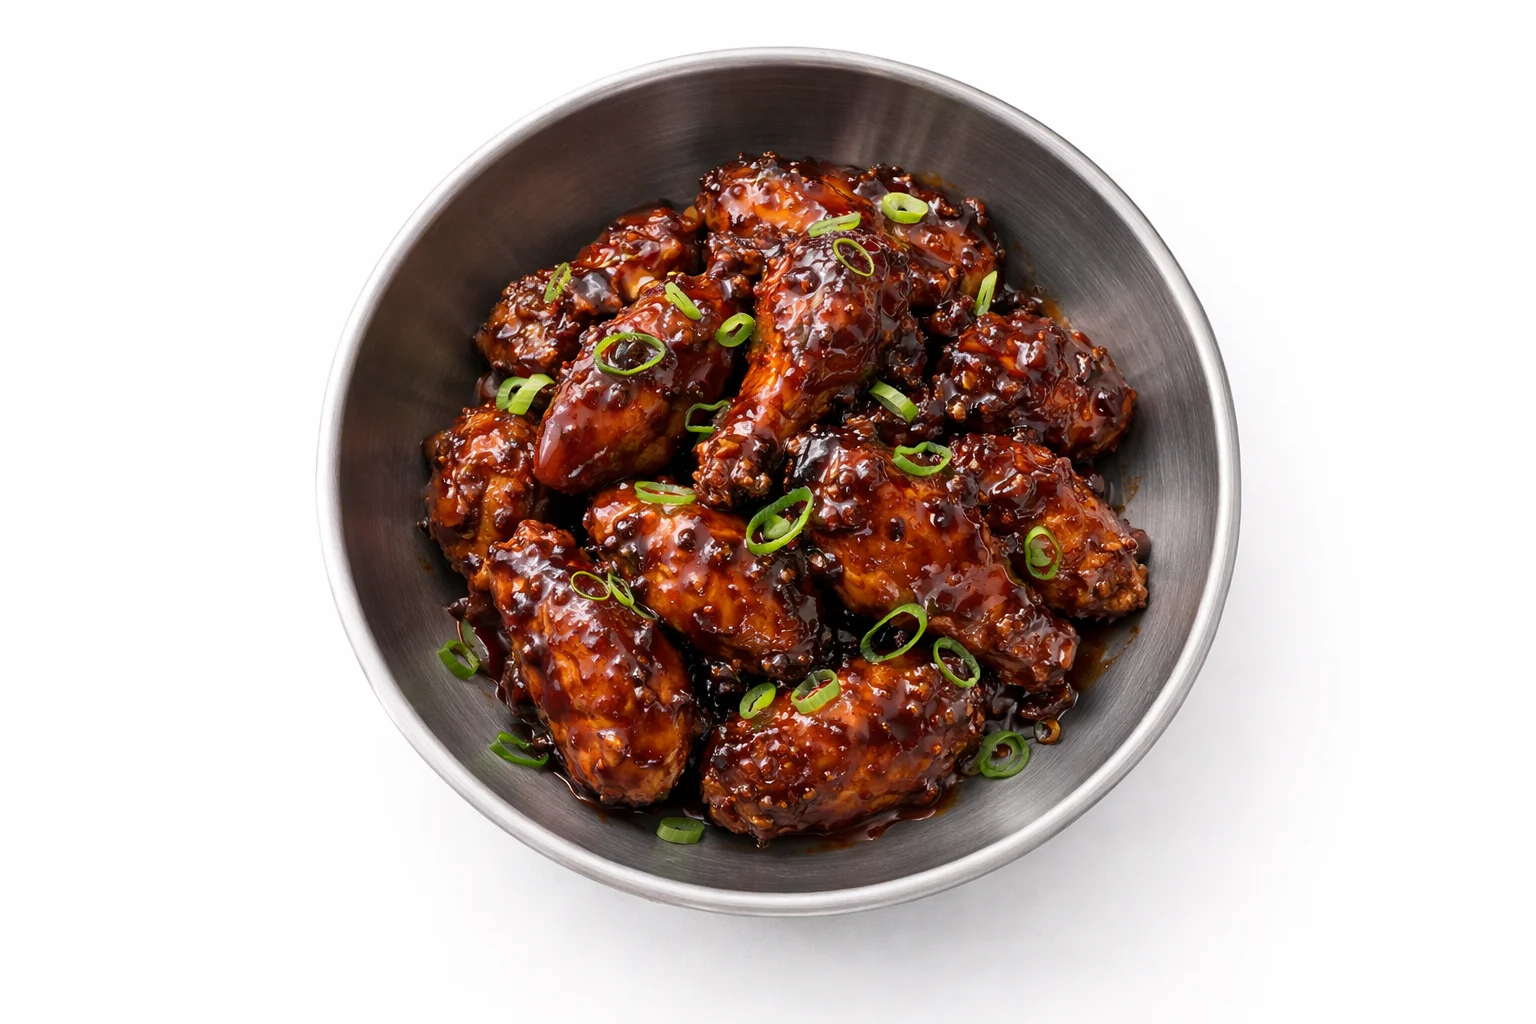
Crispy chicken hits differently when the texture is right. That first bite brings a clean crunch, followed by juicy chicken and a bold layer of flavor that keeps building. This version focuses on that balance, giving you crispy chicken tenders finished with a hot honey garlic coating that feels simple but delivers big.
The real appeal comes from how everything comes together. The outside stays crisp while the sauce adds a smooth sweet heat that does not overpower. It is quick to make, easy to repeat, and fits perfectly into both weeknight meals and casual gatherings.
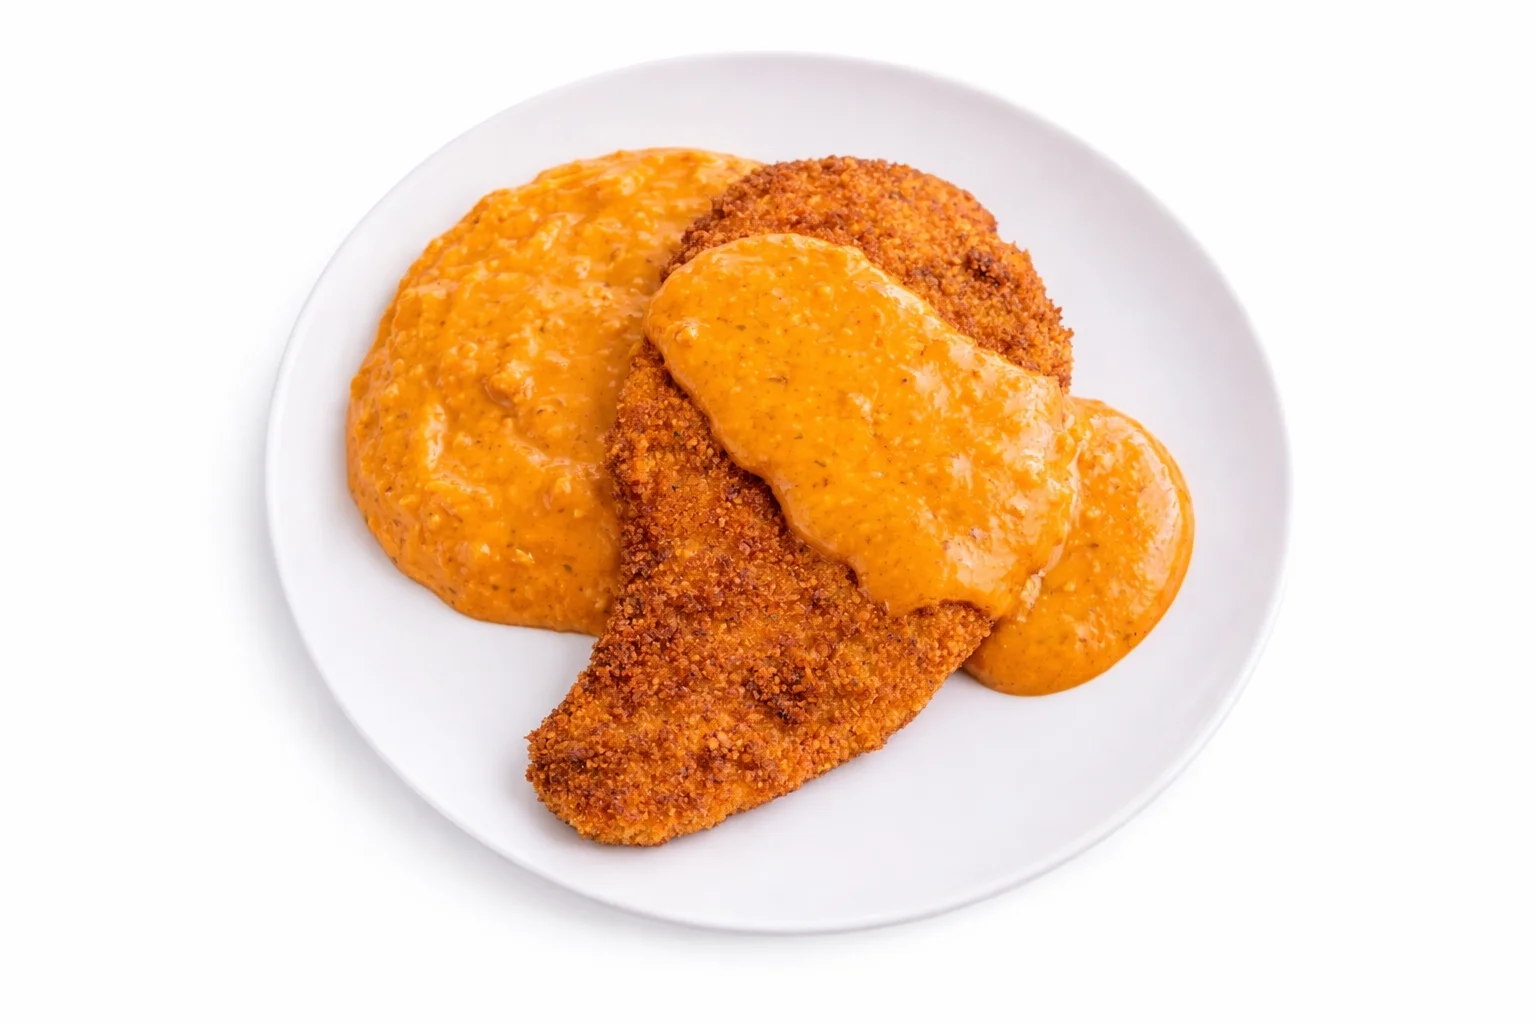
If you enjoy deeper heat and smoky flavors, this crispy chicken with peri peri sauce is another strong option. It brings roasted peppers, garlic, and chili heat into a bold, vibrant coating.
Before cooking, it is always worth checking a few kitchen safety tips to keep everything clean, organized, and safe while handling raw chicken and hot oil or ovens.
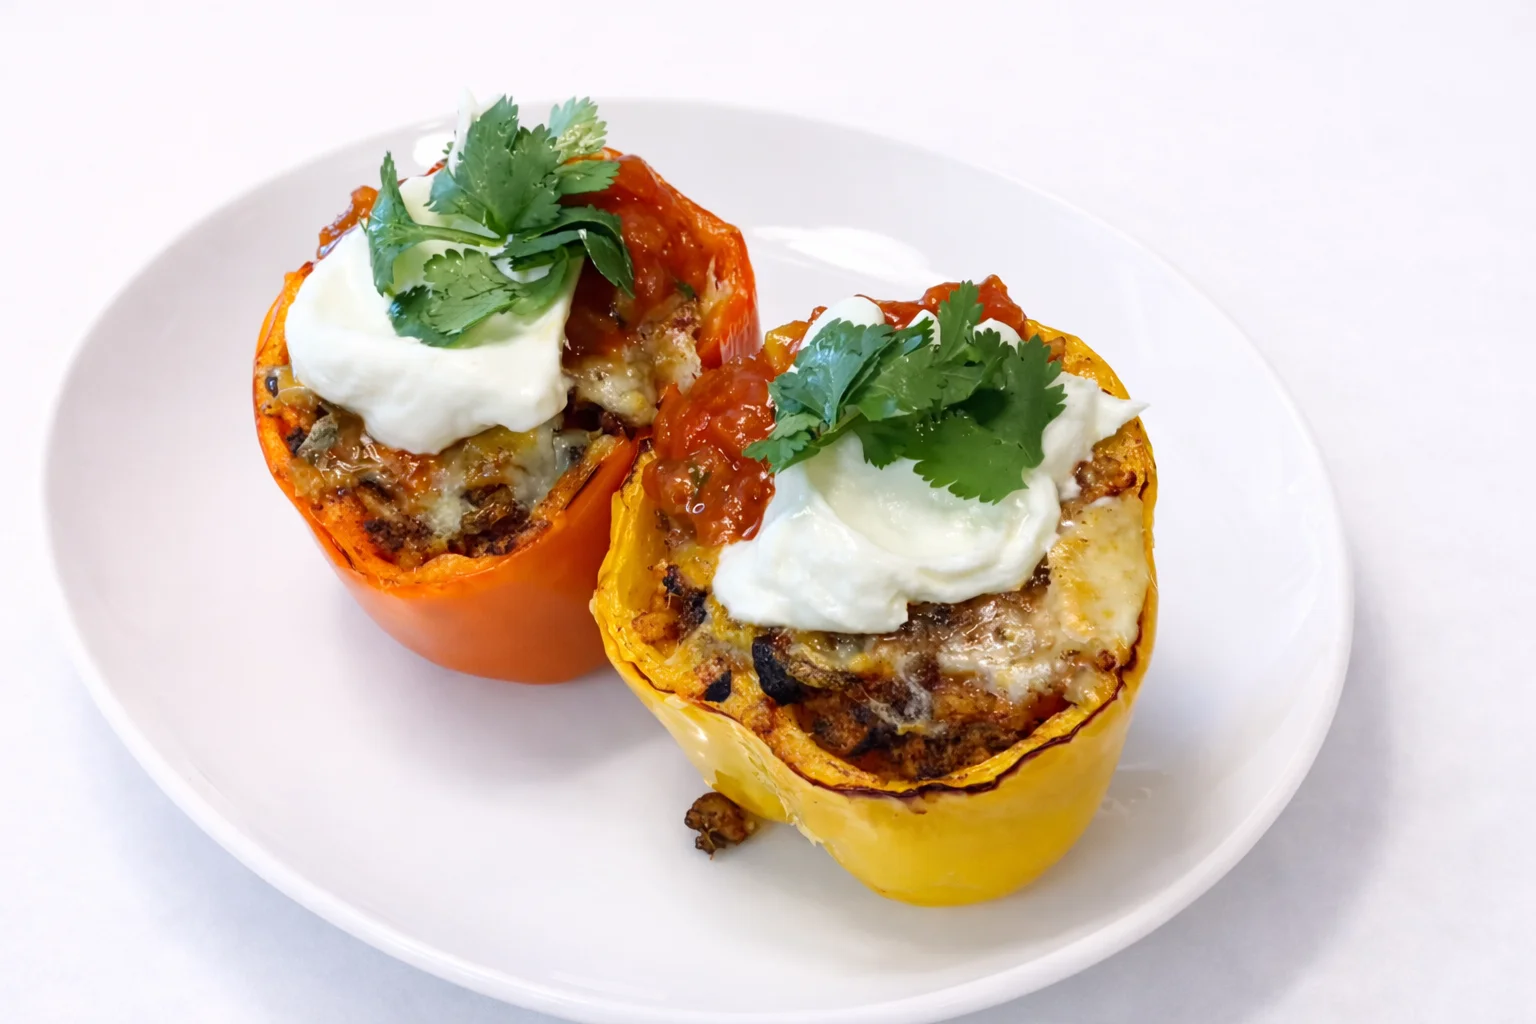
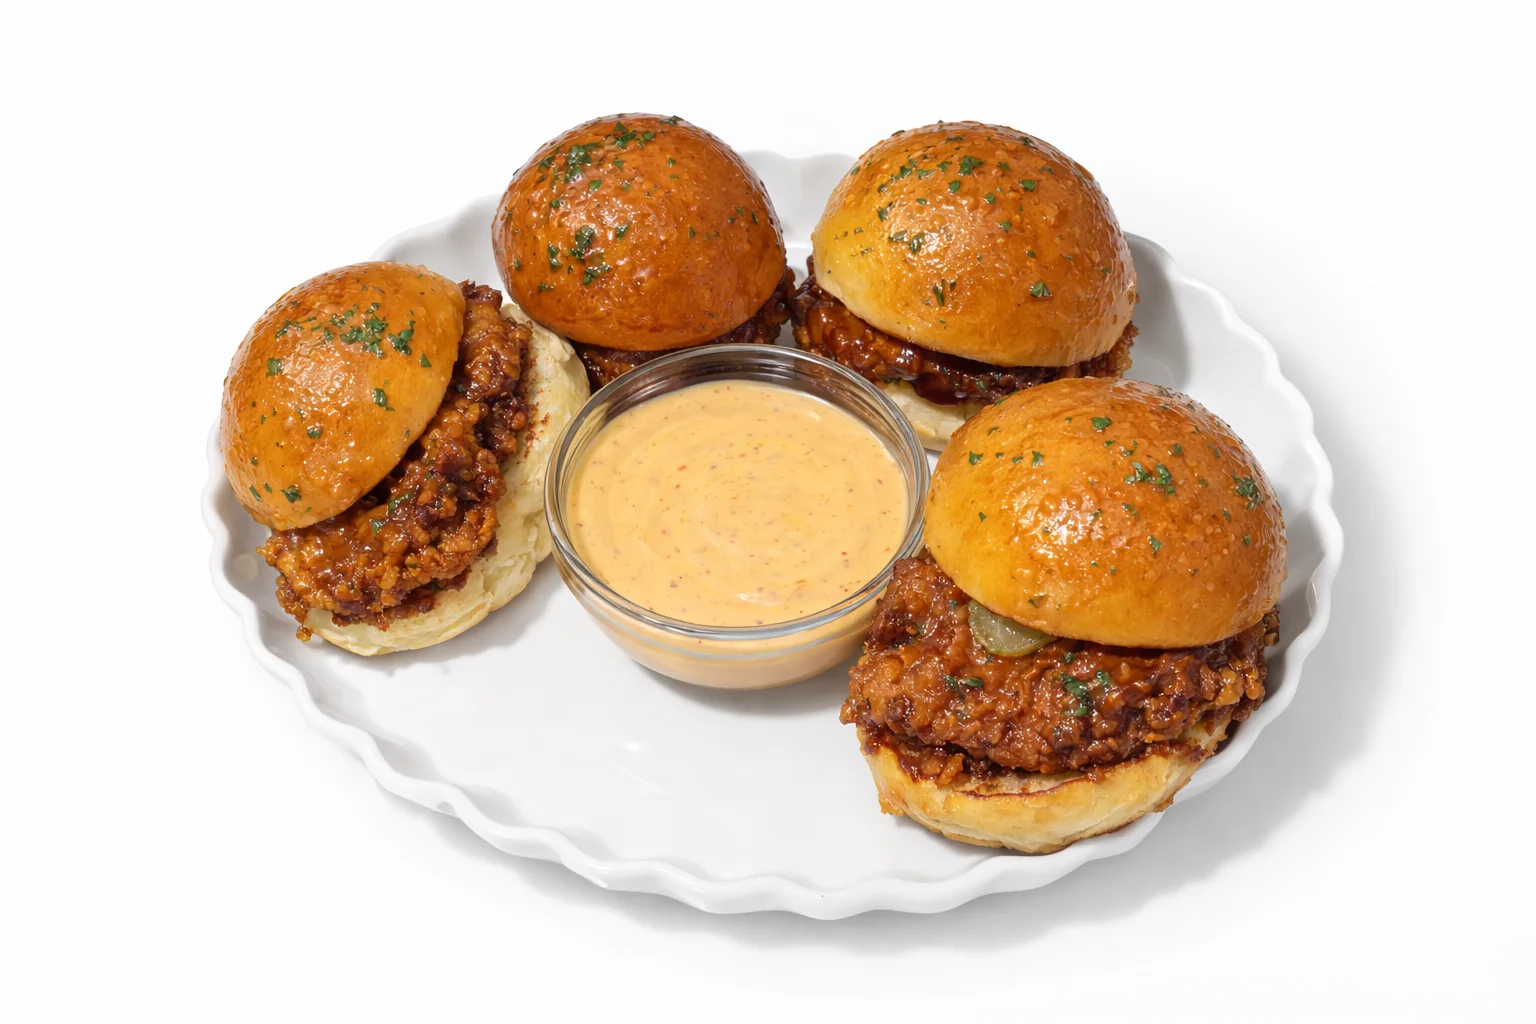
For more crispy ideas, try these Garlic Parmesan Chicken Tenders for a rich, savory twist, or go for something fun like Chicken Cones that turn crispy chicken into a shareable snack.
Why This Crispy Chicken Works So Well
Crunch that holds
The coating locks in texture, giving you a firm, consistent crunch that stays crisp even after adding sauce.
Flavor layered, not flat
Seasoning builds at every step, so each bite tastes balanced and complete without relying on one element.
Heat meets sweetness
Hot honey garlic brings a smooth sweet start followed by a light kick that keeps the flavor interesting.
Oven method done right
High heat baking creates a golden finish with real crunch, keeping things simple without frying.
Easy to repeat anytime
Straightforward steps and common ingredients make this recipe reliable every time you cook it.
Ingredients You'll Need
| ✔ | Ingredient | Amount | Purpose | Substitution |
|---|---|---|---|---|
| Chicken tenders | 1 lb | Main protein base | Chicken breast strips | |
| All-purpose flour | 1 cup | Base coating layer | Gluten-free flour | |
| Eggs | 2 | Helps coating stick | Buttermilk | |
| Panko breadcrumbs | 1.5 cups | Creates extra crunch | Regular breadcrumbs | |
| Garlic powder | 1 tsp | Adds savory flavor | Fresh minced garlic | |
| Paprika | 1 tsp | Adds color and mild spice | Smoked paprika | |
| Salt | ¾ tsp | Enhances flavor | Sea salt | |
| Black pepper | ½ tsp | Adds slight heat | White pepper | |
| Honey | ¼ cup | Sweet base for sauce | Maple syrup | |
| Hot sauce | 2 tbsp | Adds heat | Chili sauce | |
| Fresh garlic | 2 cloves | Builds sauce flavor | Garlic paste | |
| Butter | 2 tbsp | Creates smooth sauce | Olive oil |
⏱ 35-Minute Cooking Timer
How to Make Crispy Chicken Tenders
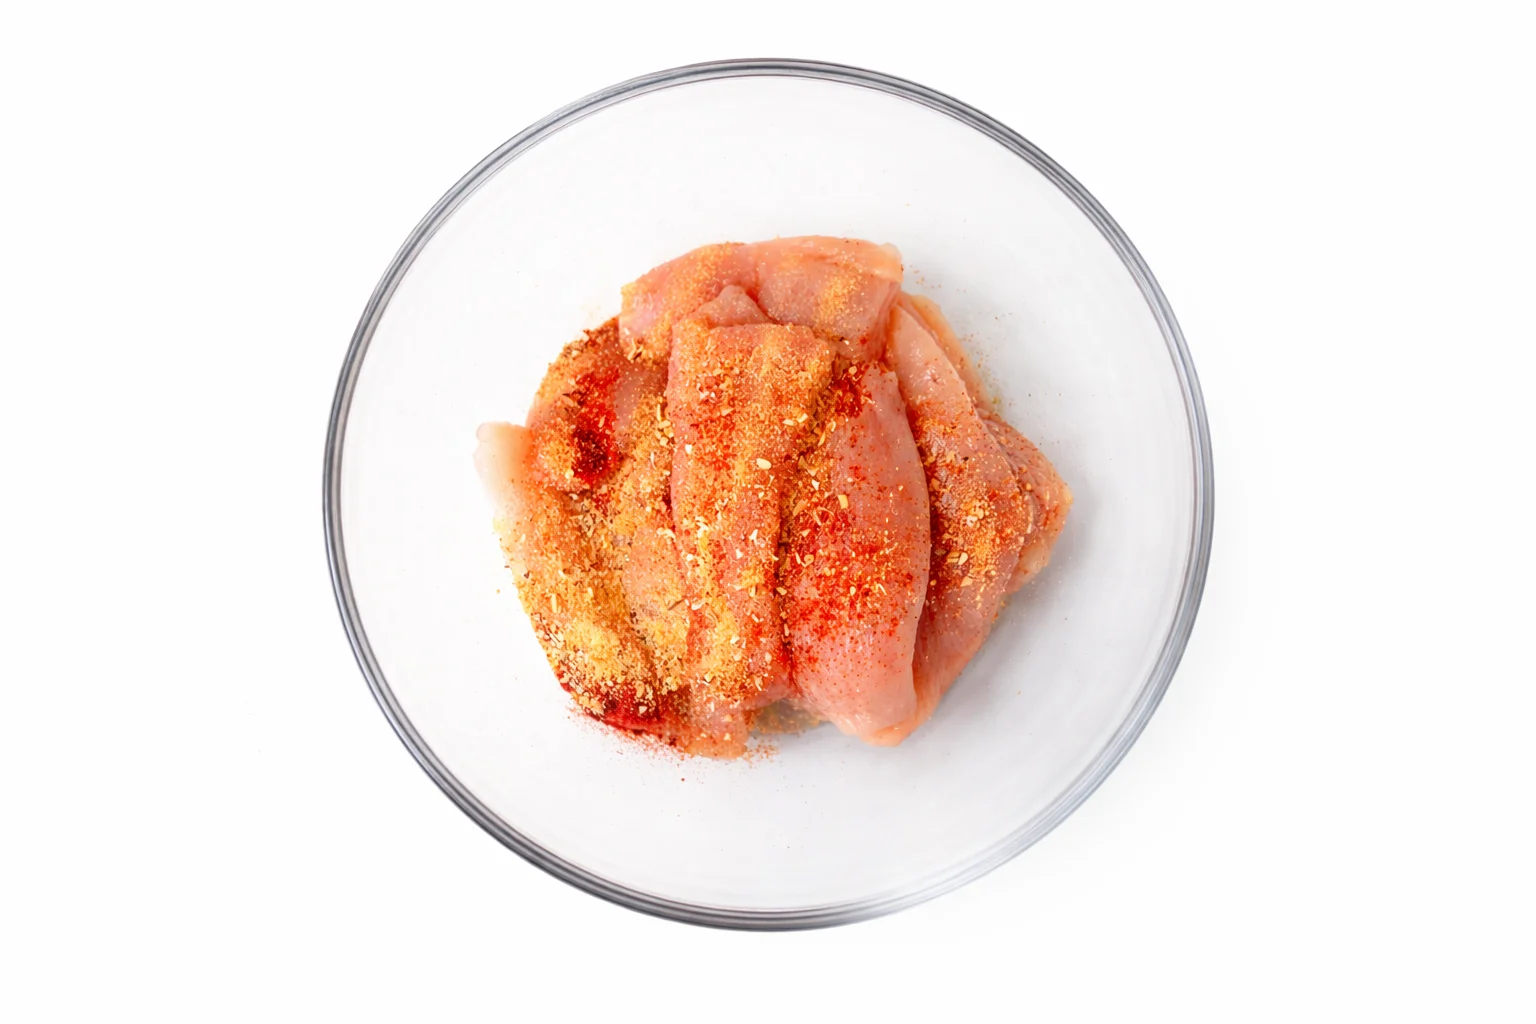
1 Place the chicken tenders in a bowl and coat them evenly with the spice mix. Make sure every piece is covered so the flavor is built right from the start. This step sets the base for that bold, well-seasoned bite.
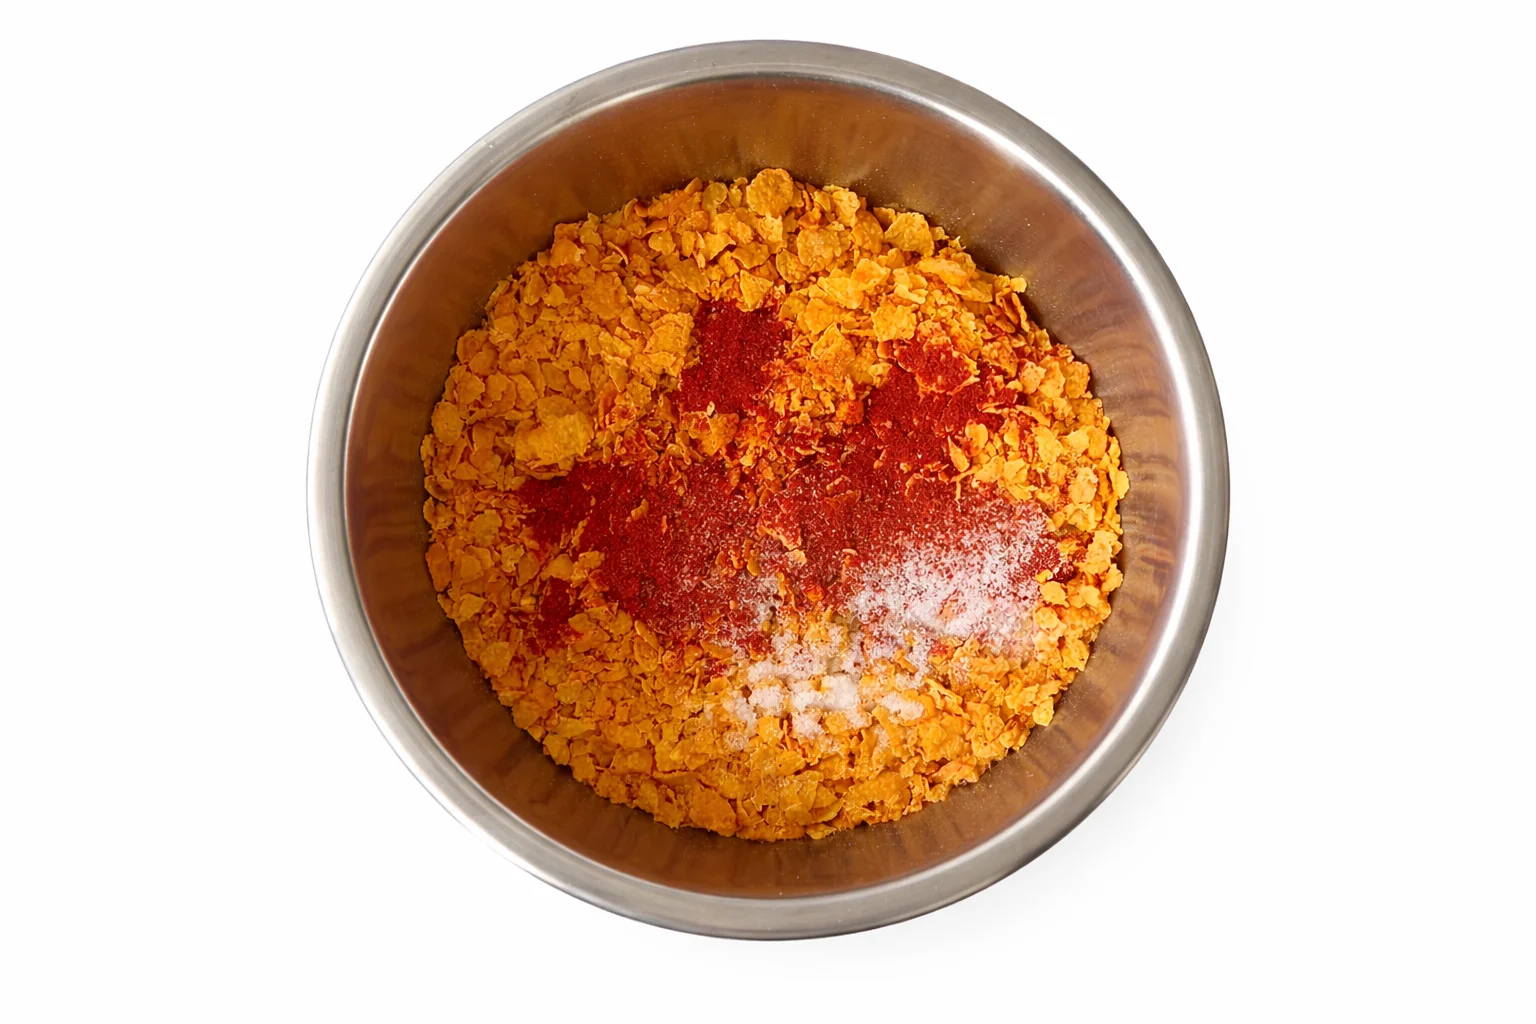
2 In a separate bowl, mix crushed cornflakes with seasoning. This mixture will create the signature crunchy coating. Keep the texture slightly coarse for better crisp after baking.
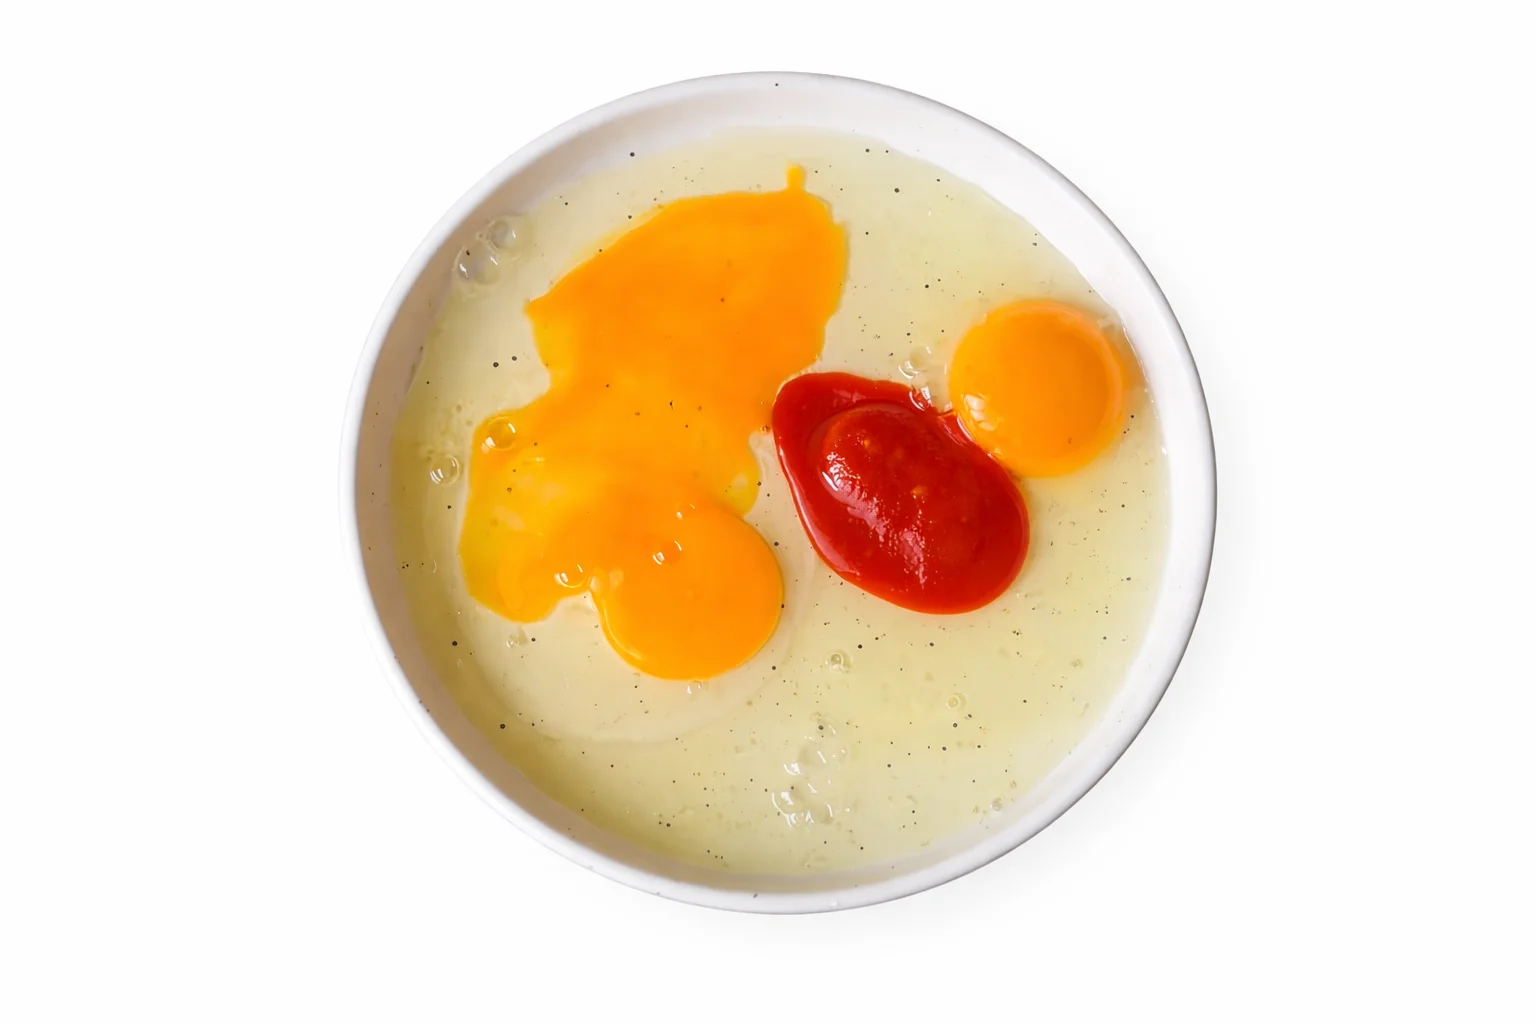
3 Whisk eggs with sriracha until smooth. This mixture helps the coating stick while adding a light kick of heat. Dip each piece of chicken into the egg mixture before coating.
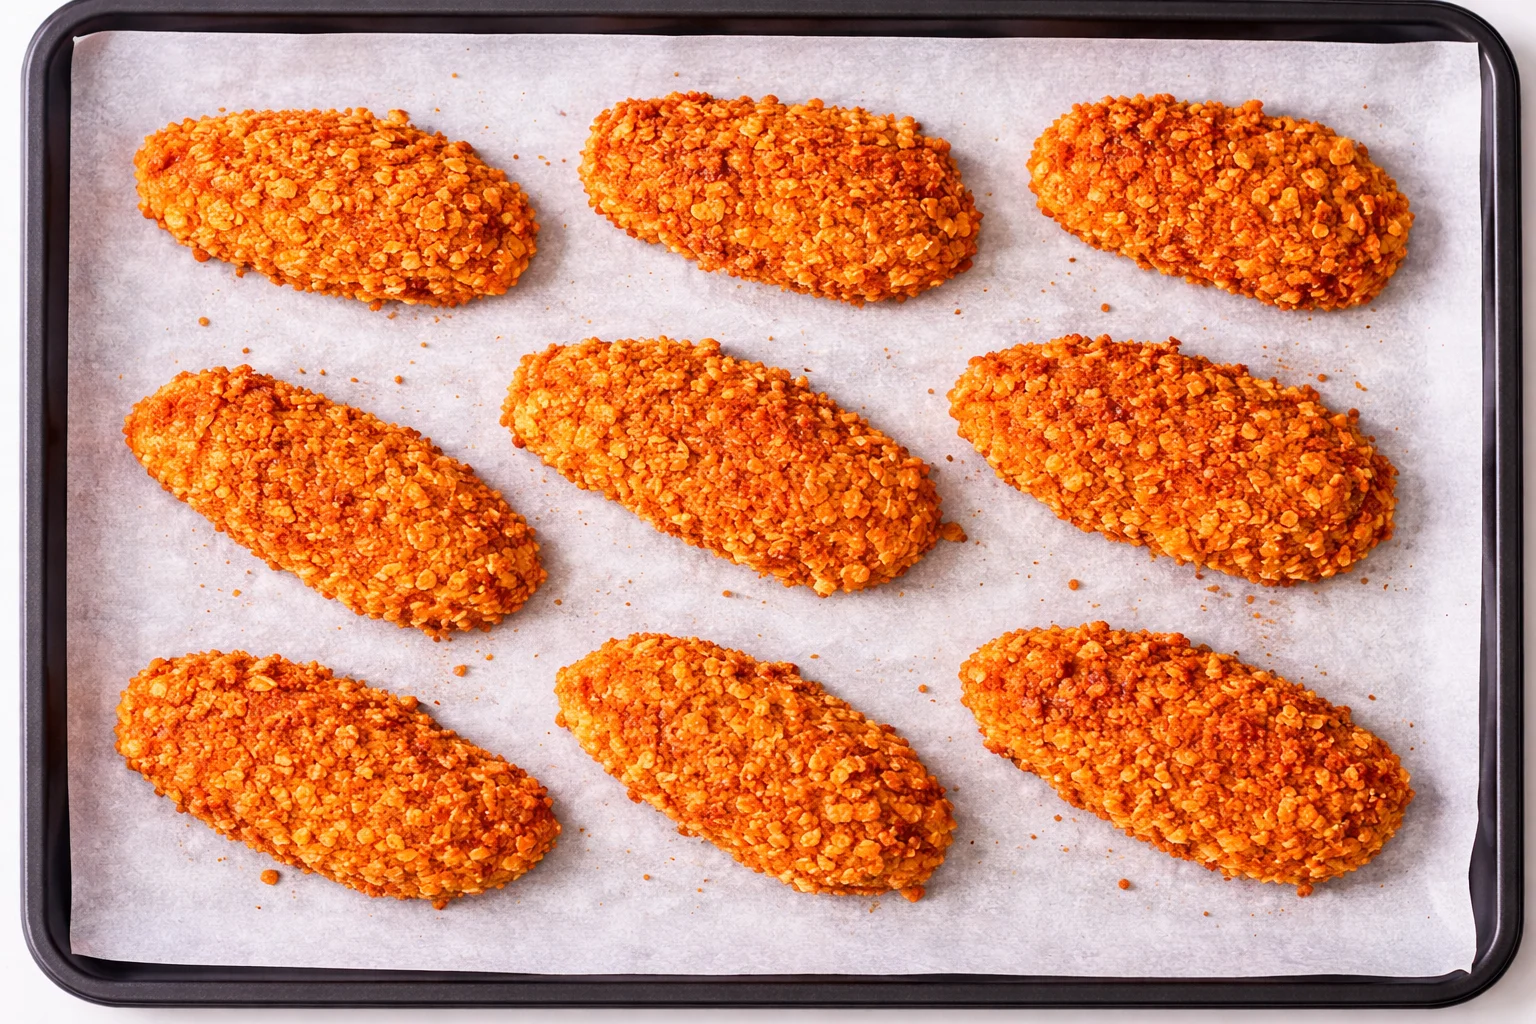
4 Coat the chicken in the cornflake mixture and place each piece on a lined baking tray. Keep space between them so the heat can circulate evenly and create a crispy finish.
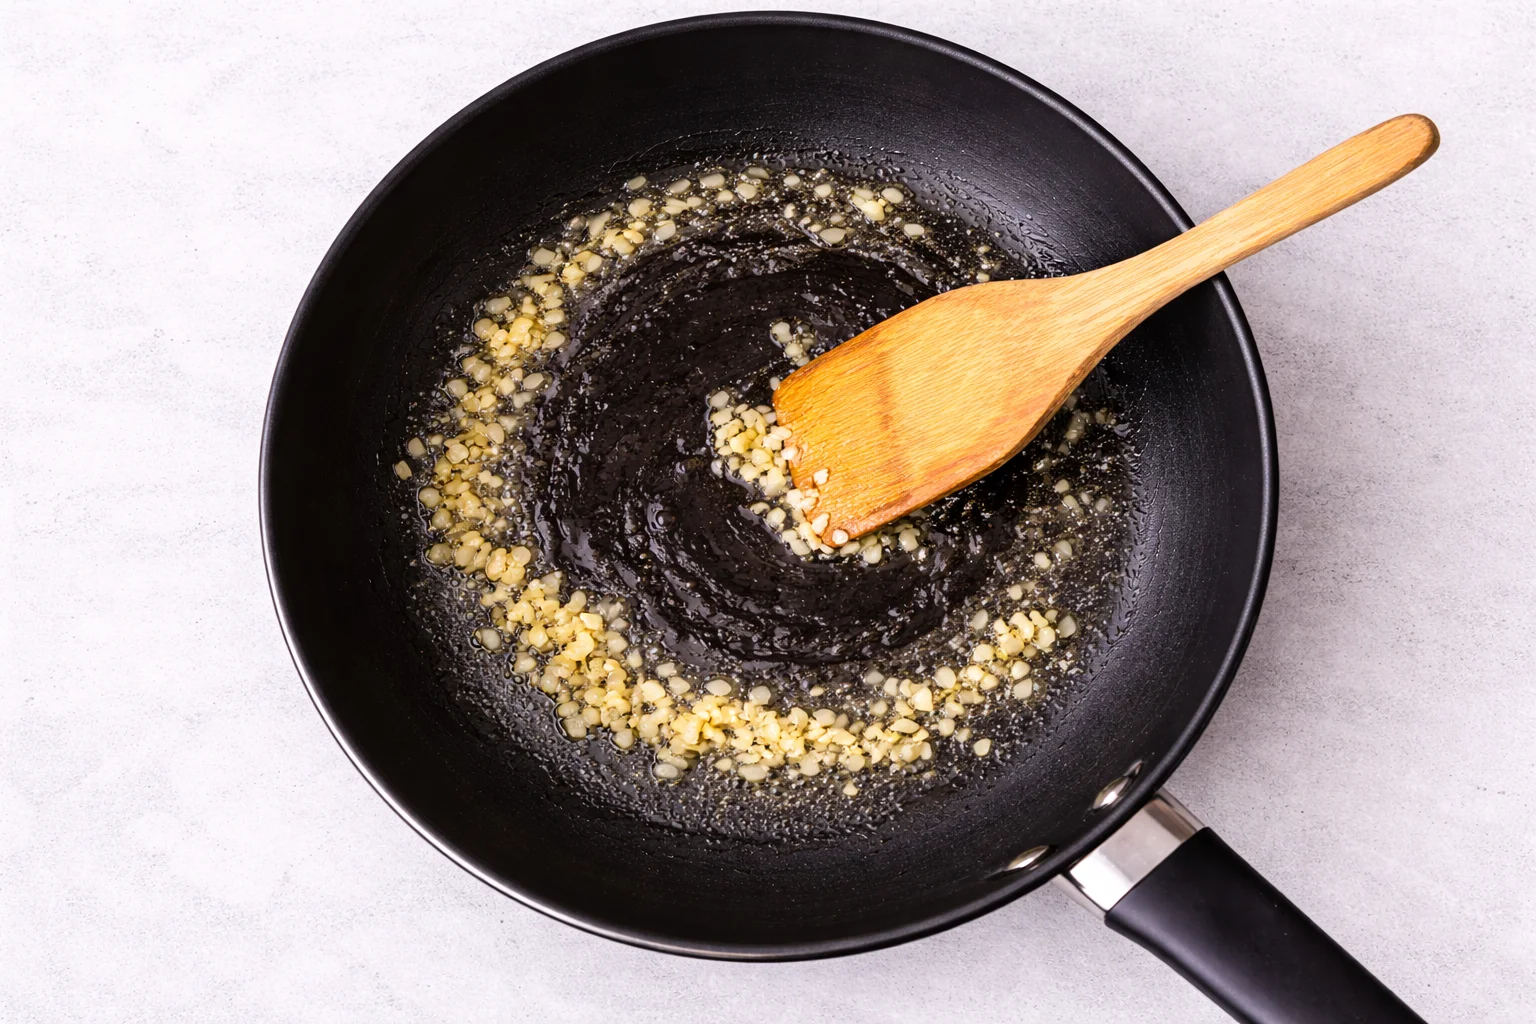
5 While the chicken bakes, melt butter in a pan and cook the garlic until fragrant. Keep the heat low so the garlic softens without burning.
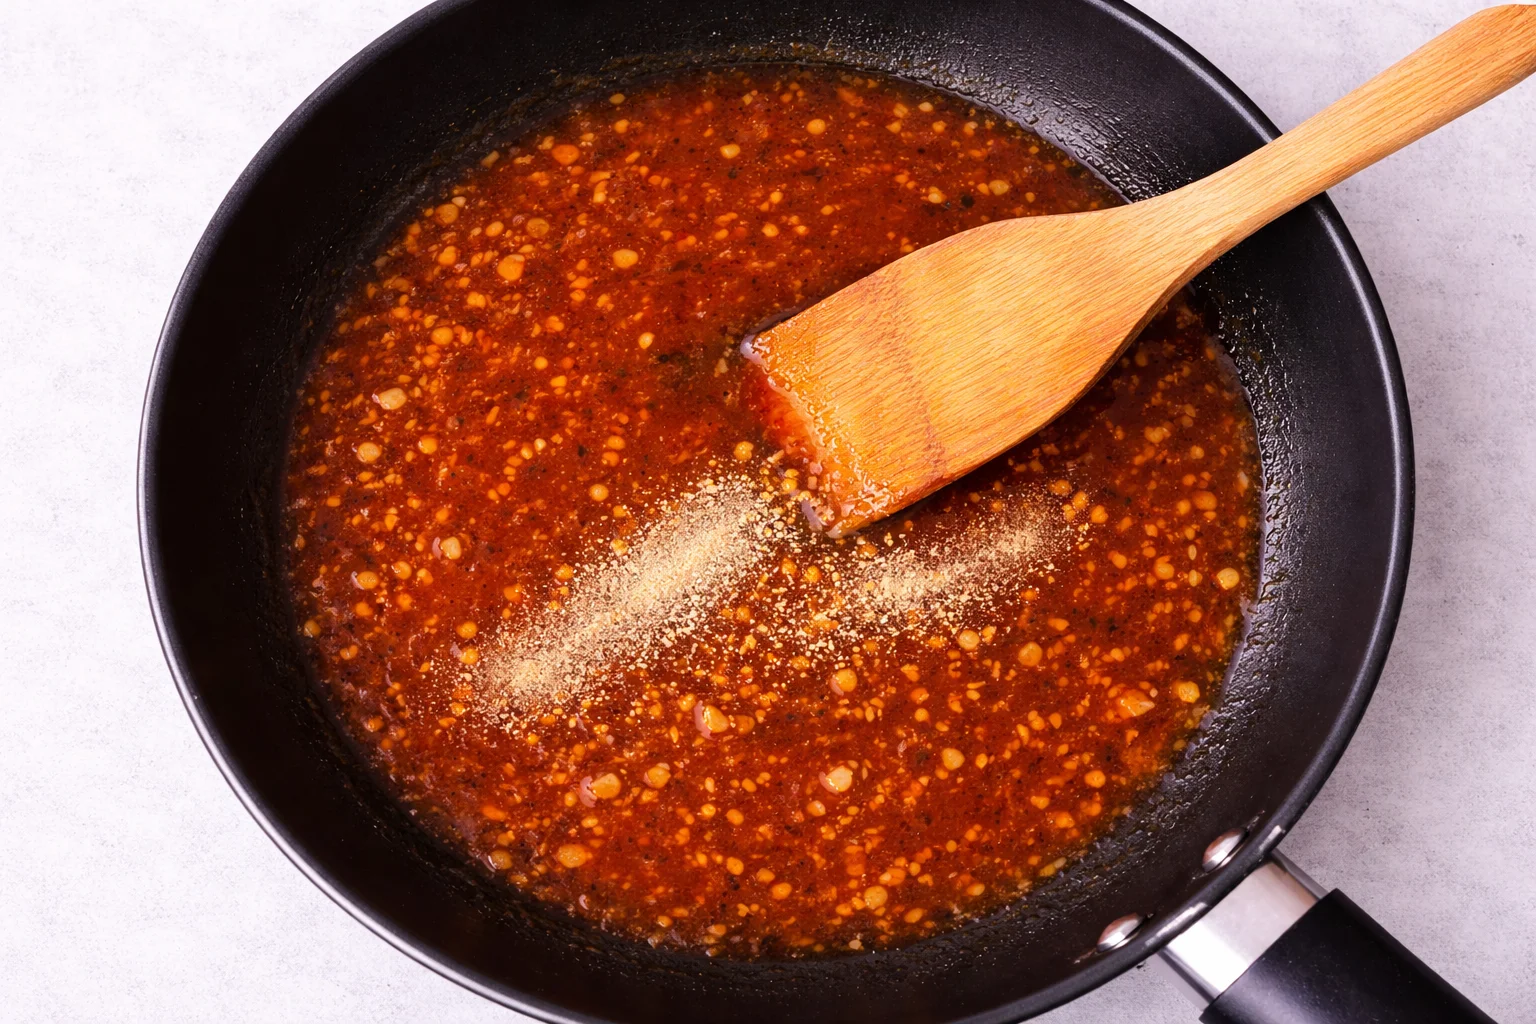
6 Add honey, hot sauce, and seasoning to the pan. Let it simmer until slightly thick. The sauce should look glossy and smooth with a balance of sweet and heat.
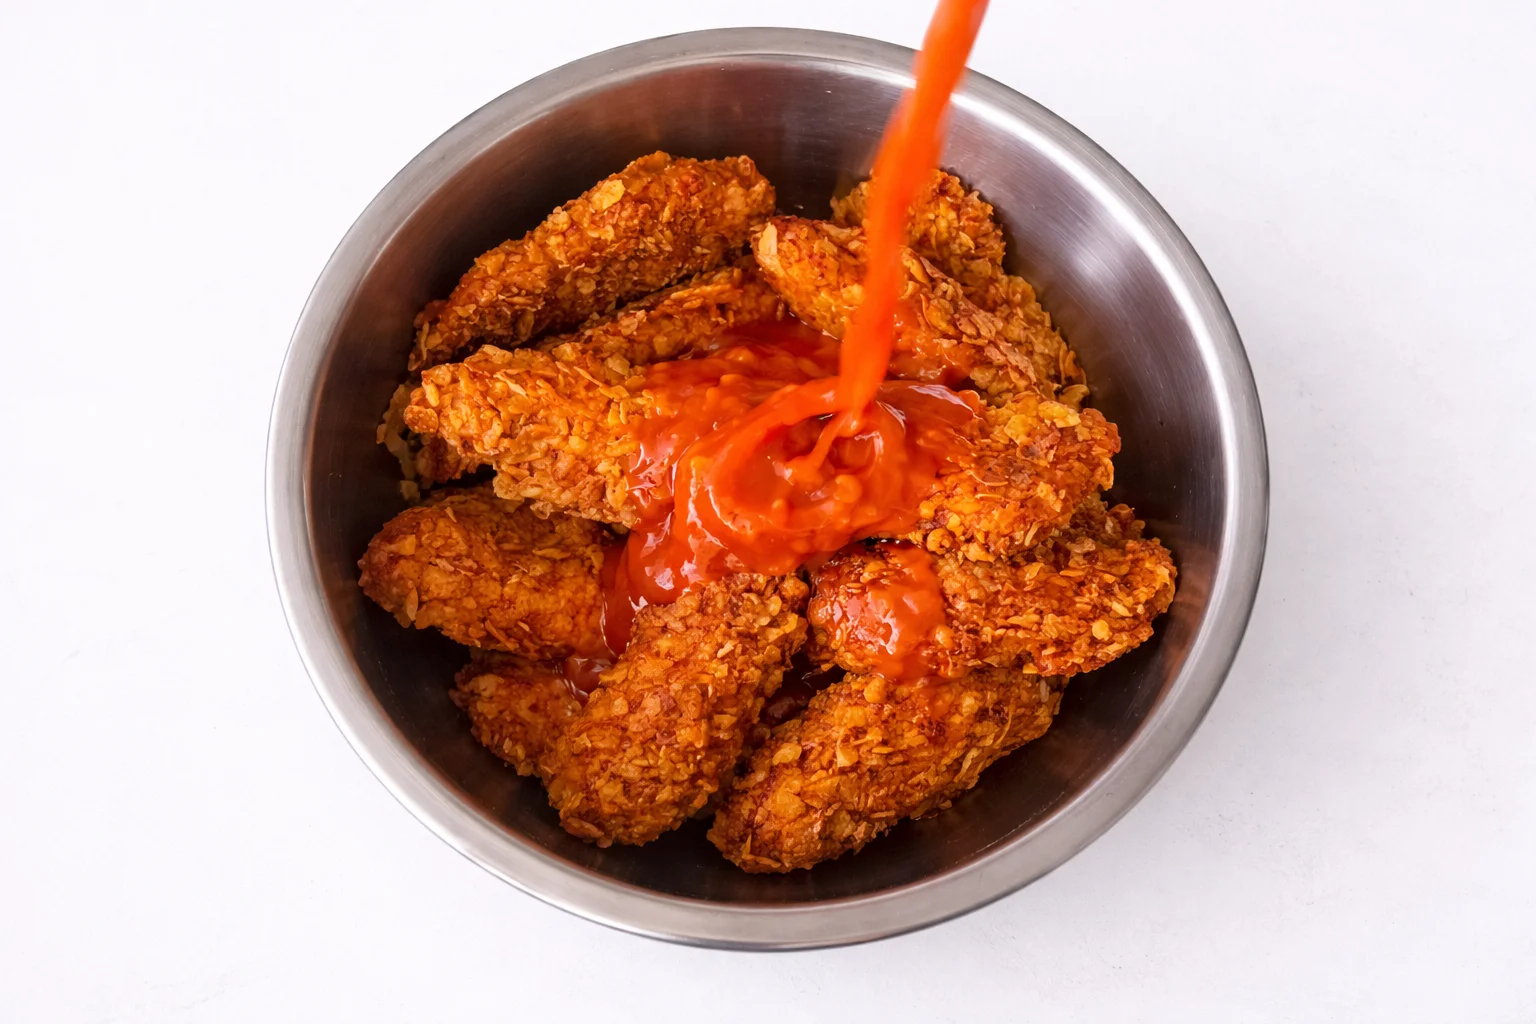
7 Once the chicken is crispy, transfer it to a bowl and pour the hot honey garlic sauce over the top. Toss gently until every piece is coated.
Pro Tips & Common Mistakes
Pat the chicken dry before seasoning. Extra moisture can ruin the coating and stop it from crisping properly in the oven.
Do not just roll the chicken in crumbs. Press the cornflake mixture into each piece so it sticks well and forms a thick crunchy layer.
If the pieces touch, they steam instead of crisp. Leave space between each tender so hot air can circulate and build that golden texture.
Garlic cooks fast and can turn bitter quickly. Keep the heat low and stir constantly so it stays soft and fragrant, not burnt.
Taste the sauce before adding it to the chicken. Adjust with a little more honey for sweetness or hot sauce for extra kick.
Do not coat the chicken while it is still too hot from the oven. Let it rest briefly so the coating stays crisp after tossing.
Cooking crispy chicken involves hot ovens and sizzling pans, so staying safe matters. For simple ways to avoid burns and kitchen mistakes, check out these essential kitchen safety tips.
Storage, Reheating & Make Ahead Tips
Place cooled chicken in an airtight container and refrigerate for up to 3 days. Keep the sauce separate if possible to maintain the crispy texture.
Reheat in the oven or air fryer at 375°F until hot and crisp again. Avoid microwaving, as it softens the coating quickly.
If the chicken loses crispness, reheat it uncovered on a wire rack. This allows heat to circulate and helps restore the texture.
You can bread the chicken a few hours in advance and store it in the fridge. Bake just before serving for the best fresh crunch.
Freeze uncooked breaded chicken on a tray, then transfer to a freezer bag. Bake straight from frozen, adding a few extra minutes to the cook time.
Easy Variations to Try
Add more hot sauce or a pinch of chili flakes to the coating or sauce for a stronger heat level.
Mix grated parmesan into the coating for a richer, slightly salty crust with extra depth.
Cook the chicken in an air fryer at 375°F for a quicker option with the same crispy result.
Replace the hot honey sauce with a honey mustard glaze for a milder, tangy flavor profile.
Cut the chicken into smaller pieces before coating to create crispy nuggets perfect for snacks or parties.
Food Safety Note
Always cook chicken until it reaches a safe internal temperature of 165°F (74°C). When using peri peri sauce as a marinade, avoid cross-contamination by keeping raw and cooked ingredients separate. For general kitchen safety practices and proper food handling guidance, visit the USDA Food Safety and Inspection Service .
What to Serve With Crispy Chicken
Crispy chicken already brings crunch and bold flavor, so the best sides are the ones that either add contrast or enhance the texture. A good balance of creamy, fresh, and crunchy sides can turn this into a complete meal instead of just a snack.
If you want to level up the flavor, pair it with this crispy chicken peri peri sauce. The smoky heat and citrus notes cut through the richness and make every bite more exciting.
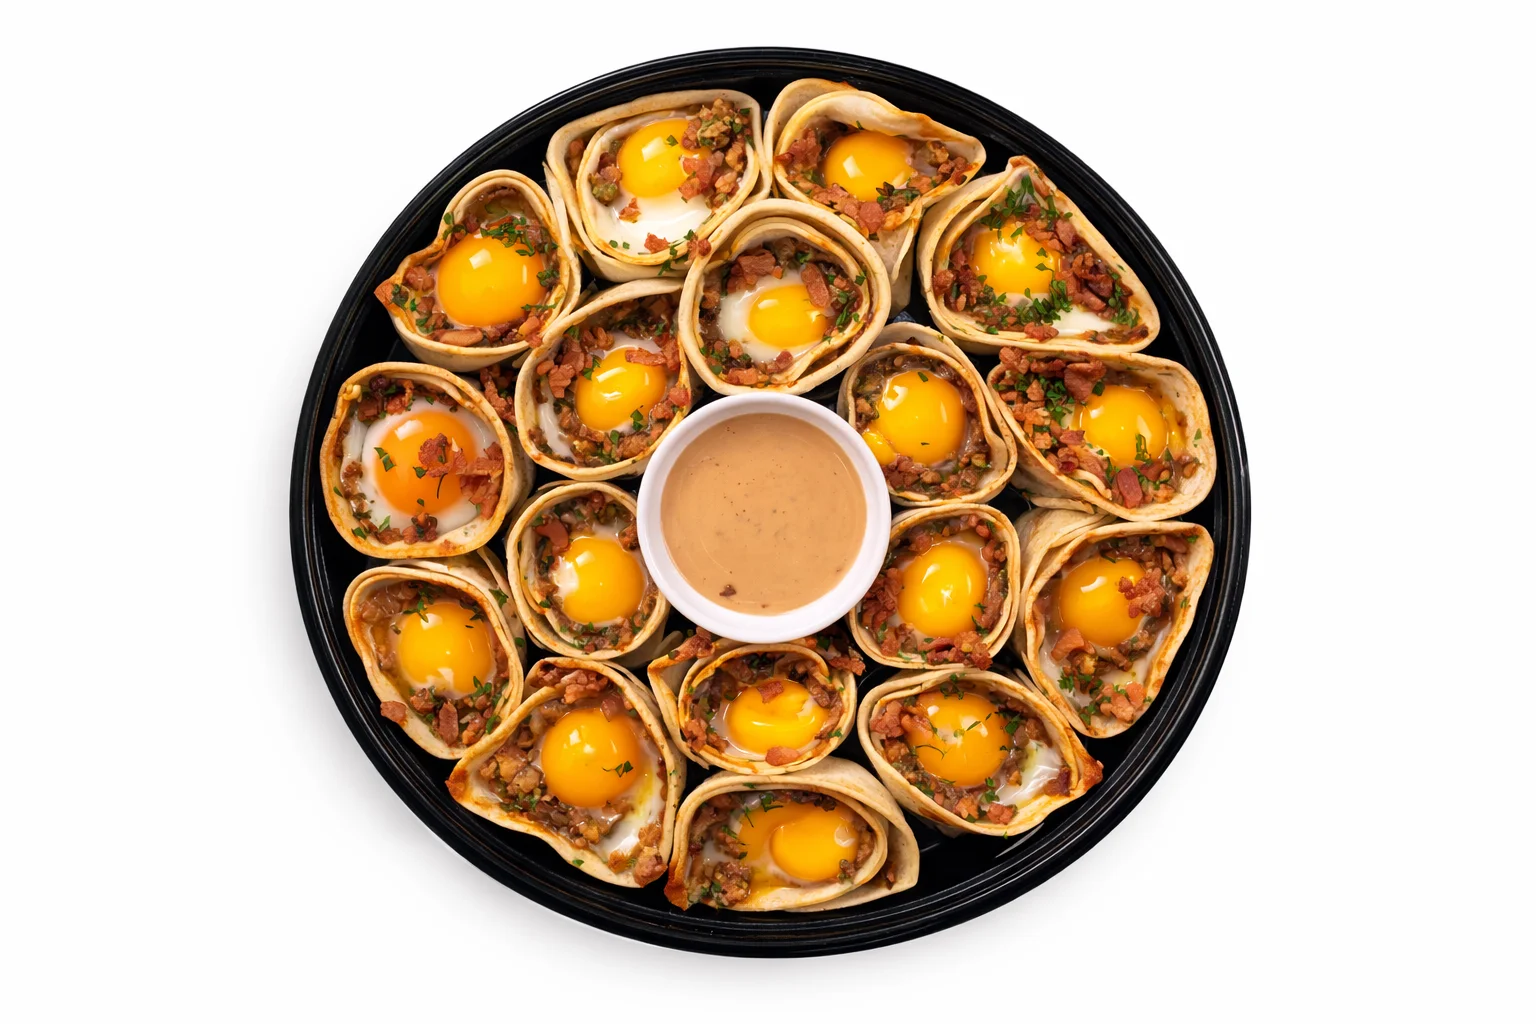
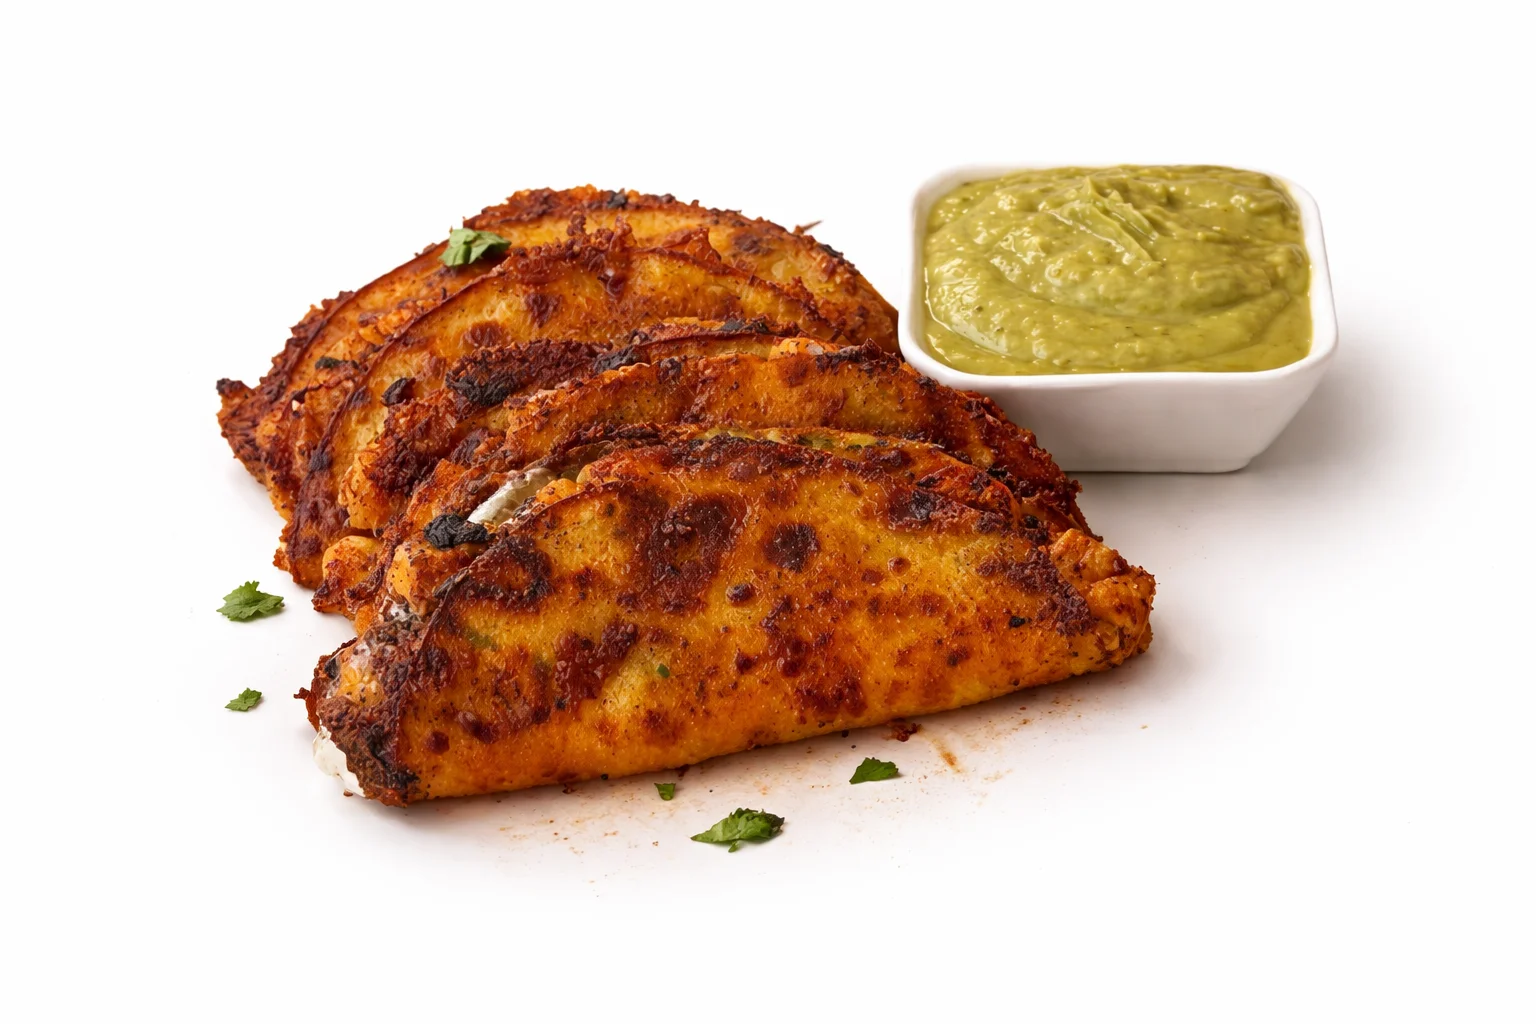
For a fun and shareable option, serve it alongside chicken tortilla cones or these crispy chicken cones. They bring a different texture and make the whole spread feel more like party food.
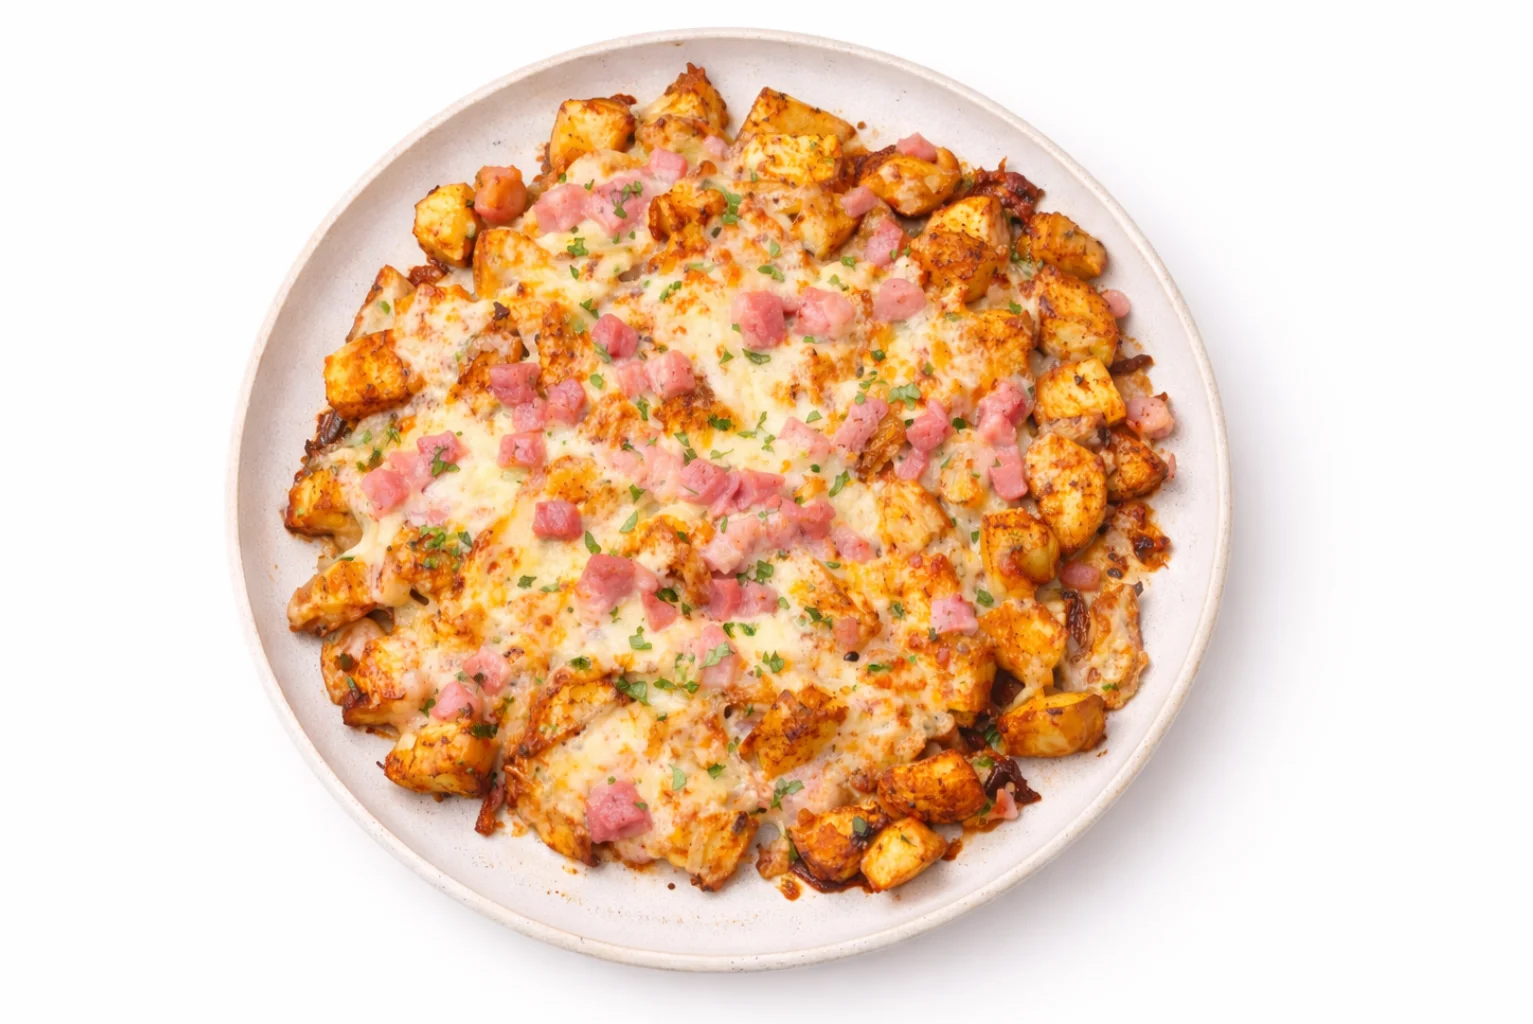
If you prefer something on the side, try air fryer cheesy potato bites. They add a soft, cheesy contrast that pairs perfectly with the crunchy coating of the chicken.
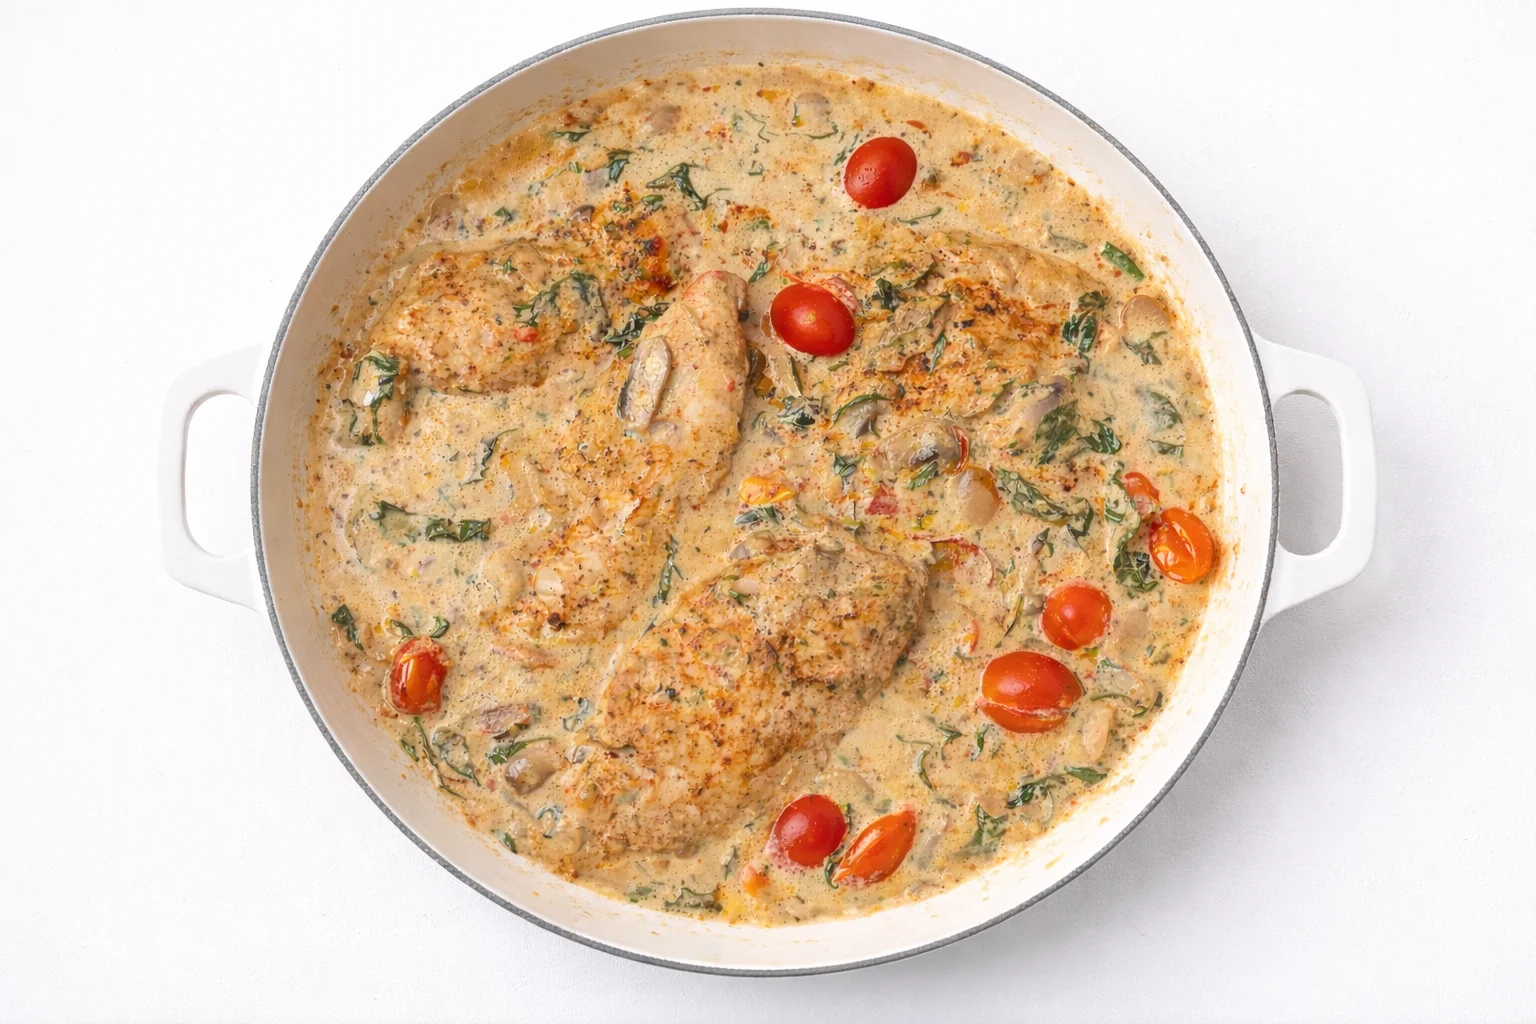
To keep things balanced, add a simple fresh salad, coleslaw, or even a light yogurt dip. These lighter options help cut through the richness and keep the meal from feeling too heavy.
FAQs
How do you keep chicken crispy after baking?
Let the chicken rest for a few minutes on a wire rack instead of a flat tray. This prevents steam from softening the coating and helps it stay crunchy longer.
Can I make crispy chicken without frying?
Yes. Baking at a high temperature or using an air fryer can give you a crispy texture without deep frying. The key is a well-coated surface and enough heat.
Why is my coating not sticking to the chicken?
This usually happens if the chicken is too wet or the coating is not pressed firmly. Pat the chicken dry first and press the crumbs into the surface before baking.
Can I prepare this recipe ahead of time?
Yes. You can bread the chicken and store it in the fridge for a few hours before baking. Cook it fresh when ready to serve for the best texture.
What is the best way to reheat crispy chicken?
Use an oven or air fryer at medium heat until the chicken is hot and crisp again. Avoid microwaving, as it softens the coating.
Can I freeze breaded chicken?
Yes. Freeze the coated chicken before cooking, then bake it directly from frozen. Just add a few extra minutes to the cooking time.
How do I adjust the spice level?
Reduce the hot sauce for a milder version or add extra chili or hot honey for more heat. You can easily adjust it based on your taste.
Nutrition Information
Values are estimated per serving and may vary depending on portion size, ingredients, and cooking method.
You Might Also Like These Easy Recipes

Crispy Chicken Tenders (Hot Honey Garlic)
Crispy chicken tenders baked until golden and finished with a bold hot honey garlic glaze. Crunchy outside, juicy inside, and packed with sweet heat in every bite.
Ingredients
- 1 lb chicken tenders
- 1 cup all-purpose flour
- 2 eggs
- 1½ cups crushed cornflakes or panko
- 1 tsp garlic powder
- 1 tsp paprika
- ¾ tsp salt
- ½ tsp black pepper
- ¼ cup honey
- 2 tbsp hot sauce
- 2 cloves garlic, minced
- 2 tbsp butter
Instructions
- Preheat the oven to 400°F (200°C) and line a baking tray.
- Season the chicken tenders with salt, pepper, garlic powder, and paprika.
- Prepare three bowls: flour, beaten eggs, and crushed cornflakes.
- Dip each piece in flour, then egg, then coat well in the cornflake mixture.
- Place on the tray with space between each piece.
- Bake for 18–20 minutes until golden and crispy.
- In a pan, melt butter and cook garlic until fragrant.
- Add honey and hot sauce, then simmer briefly until smooth.
- Toss the baked chicken in the sauce or drizzle over the top and serve immediately.
Recipe Disclaimer
This recipe is provided for informational purposes only. Cooking times and temperatures may vary depending on your air fryer model and kitchen equipment. Always use your best judgment when preparing food and ensure ingredients are cooked safely. Nutritional information is an estimate and may vary based on the exact products used. For full details, please review our full disclaimer policy.

Krish Shrestha
I’m Krish Shrestha, the creator of Krivia Recipes. I share practical, ingredient-focused recipes made with simple ingredients and clear step-by-step instructions designed for real kitchens and everyday home cooking.